If you just installed a new stick and the laptop still boots with the old capacity, the search for How to Fix New RAM Not Detected on a Gaming Laptop usually ends with a simple compatibility or seating issue. Most gaming laptops use SO-DIMM memory, not the full-size DIMMs found in desktops. That small detail matters because the module has to match the slot, the generation, and the laptop's firmware support.
Manufacturer specifications indicate that DDR4 and DDR5 SO-DIMMs use different notch positions and voltages, so a DDR5 stick will not fit a DDR4 slot. As of 2026, many current gaming laptops ship with DDR5-4800 or faster memory, while older models still use DDR4-3200. Before you touch a screwdriver, check the exact model support list and the memory type already installed.
How to Fix New RAM Not Detected on a Gaming Laptop
Fix new RAM not detected on a gaming laptop by reseating it first. Confirm the module matches DDR4 or DDR5 and the slot key. Update the BIOS if the laptop still shows old capacity.
Test one stick at a time in each slot. Replace the module if no slot detects it.
Why Your Gaming Laptop Isn’t Detecting the New RAM
Your laptop runs a POST check before Windows loads. If the memory controller cannot read the module's SPD data, the system falls back to the old stick or refuses to boot. That's why a new stick can look dead even when it's seated.
What usually causes the laptop to ignore new RAM?
The usual causes are wrong generation, poor seating, stale firmware, or a slot that only works with one module. Work through the simple checks before you assume the RAM is faulty.
- If the laptop beeps or shows no display, reseat the module first.
- If BIOS shows old capacity, check slot order and single-stick rules.
- If BIOS shows new capacity but Windows doesn't, check for a Windows memory limit or a disabled memory setting.
- If the module is soldered, there is no slot to upgrade.
DDR5 laptops can take 30 to 60 seconds on first boot while memory training runs. Give the system time before you pull the stick back out. Physical slot damage is rare, but it does happen.
A tougher chassis reduces that risk on later upgrades.
Check RAM Compatibility Before You Open Anything
Compatibility is the first branch in the decision tree. If the laptop takes DDR4, a DDR5 stick will not work, no matter how hard you push. The same rule applies in reverse.
Which RAM type does your laptop actually need?
Your laptop needs the exact SO-DIMM generation listed in its service manual or support page. Check the existing module label, the model spec sheet, or a manufacturer compatibility tool before buying.
| Spec | DDR4 SO-DIMM | DDR5 SO-DIMM |
|---|---|---|
| Notch key | DDR4 position | DDR5 position |
| Voltage | 1.2 V | 1.1 V |
| Common speed | 2666 to 3200 MHz | 4800 to 5600 MHz |
| Common capacity | 8 GB to 32 GB | 8 GB to 32 GB |
JEDEC memory standards define these electrical and physical differences. They are not interchangeable.

Image source: Wikimedia Commons / Kurt Kaiser
Also check rank and capacity limits. Some laptops accept 32 GB total but not a single 32 GB stick. Others need matching sticks for dual-channel mode.
If you're shopping instead of upgrading, a rig built for heavy titles will list its memory type clearly.
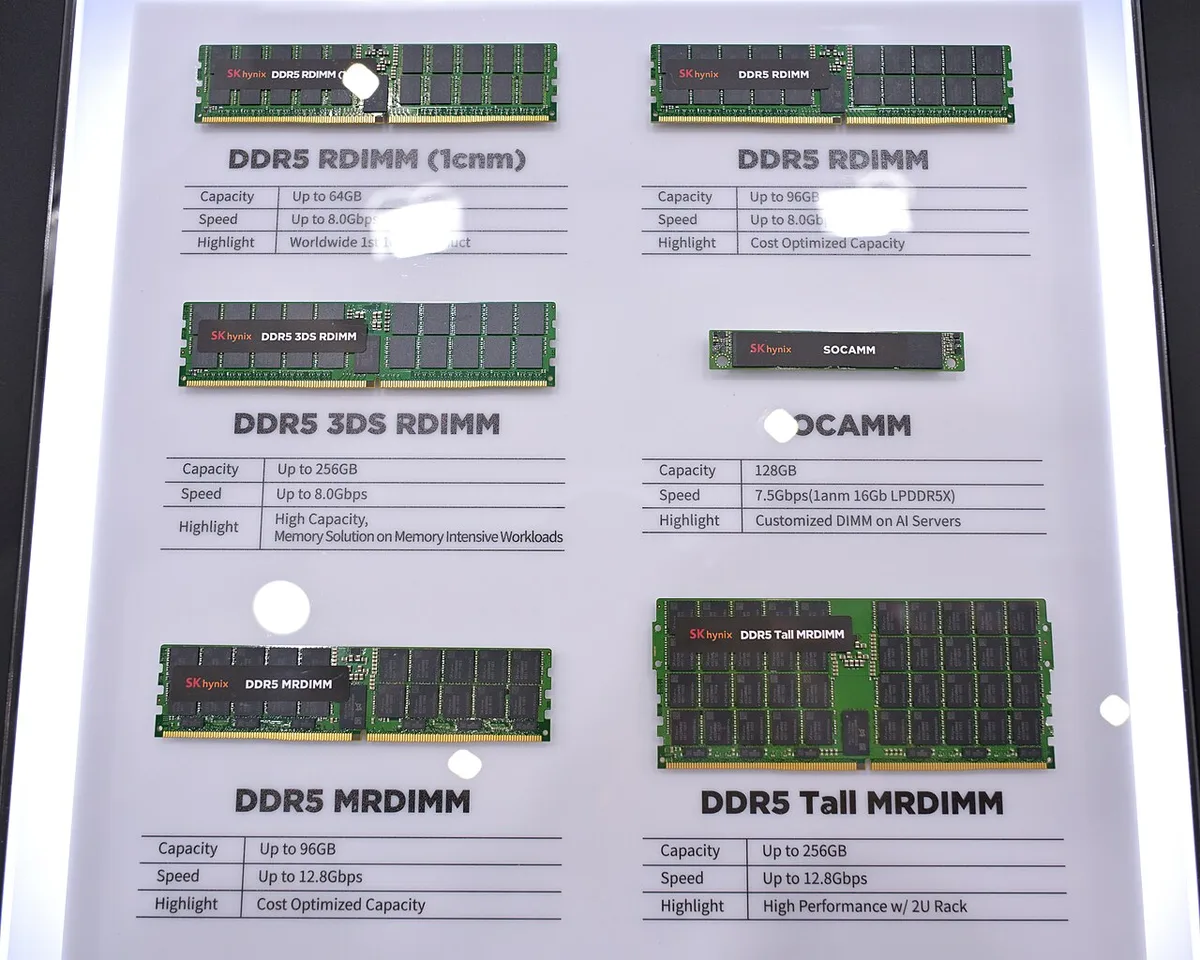
Image source: Wikimedia Commons / 4300streetcar (CC BY)
Reseat and Install the RAM Module Correctly
A stick that is 1 mm out of place can fail detection. The fix is usually a clean reseat, not a new part.
How do you seat a SO-DIMM without damaging it?
You seat a SO-DIMM by aligning the notch, sliding it in at an angle, then pressing down until both latches click. Stop if you feel resistance.
- Shut down the laptop and unplug the charger.
- Ground yourself on bare metal to drain static.
- Remove the back panel screws and keep them sorted.
- Release the side latches and pull the old module straight out.
- Align the new module's notch with the slot key.
- Slide it in at about a 45-degree angle.
- Press down firmly until both side latches click.
If the latches won't click, do not force them. Pull the stick and check for a bent pin or debris. If one slot works and the other doesn't, the slot may be faulty.
Larger display models often have more room inside, but the seating process is the same.
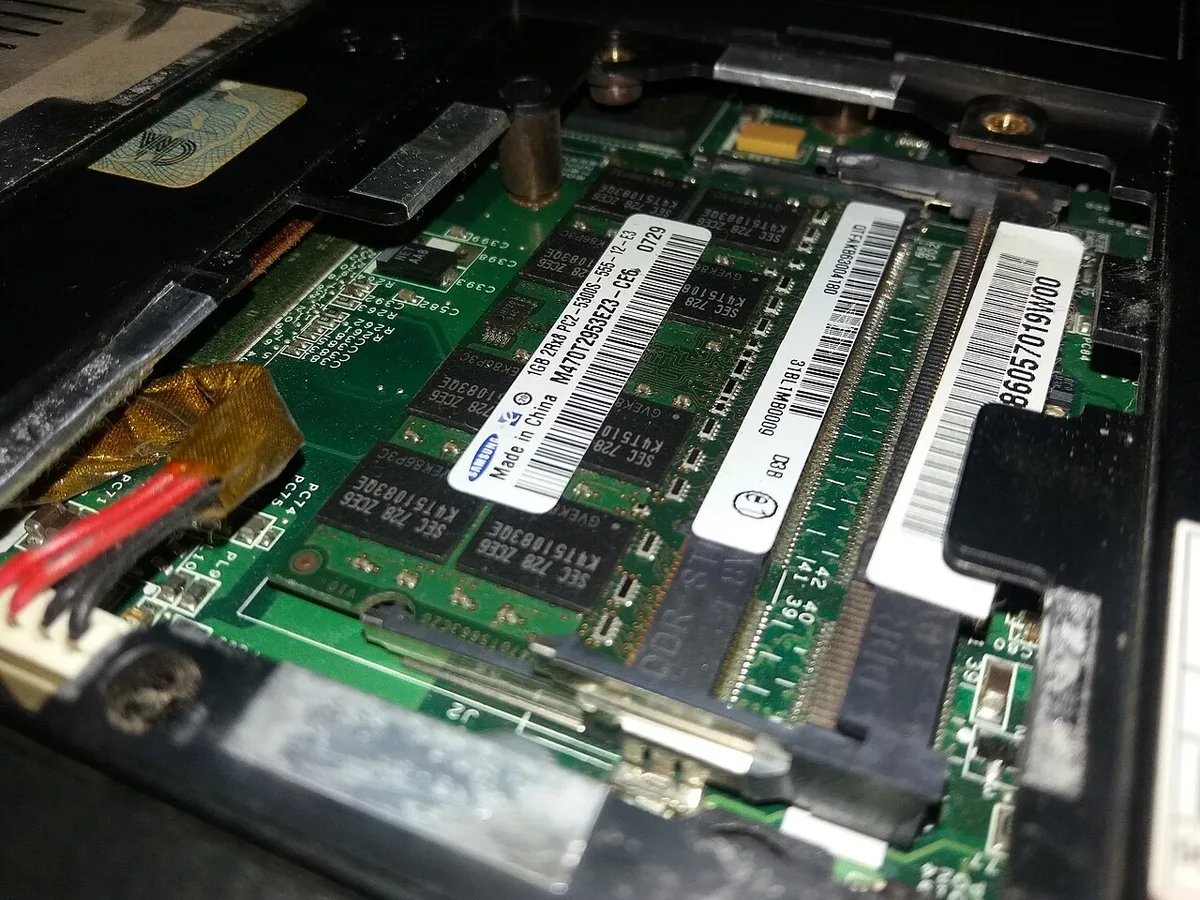
Image source: Wikimedia Commons / Donald Sepeng (CC BY-SA)
Update BIOS and Configure Memory Settings
Firmware can make or break RAM detection. A BIOS update often adds support for newer memory chips or fixes a training bug.
When does a BIOS update fix RAM detection?
A BIOS update fixes RAM detection when the current firmware predates the memory module's chip density or speed profile. Check the laptop maker's support page for a memory-related changelog.
- Use only the official BIOS file from your laptop manufacturer.
- Keep the charger plugged in during the update.
- Do not power off while the flash is running.
- Load default settings after the update, then retest.
Laptop BIOS menus are often limited. XMP and EXPO profiles may not be available. The system may run the kit at JEDEC defaults instead.
That's normal and still stable.
If the BIOS sees the new capacity, save and exit. Then boot into Windows and confirm the total. If it still shows the old number, go back to seating and slot order before you flash anything else.
Test RAM and Verify Detection in Windows
Windows should report the full installed capacity once BIOS sees it. If it doesn't, the issue may be firmware, a Windows setting, or a bad module.
How do you test new RAM after installation?
You test new RAM by checking BIOS capacity, running a memory diagnostic, and confirming the total in Windows. Test one stick at a time if the result is unclear.
- Open Task Manager, then Performance, then Memory. Check the total and speed.
- Run Windows Memory Diagnostic from the Start menu.
- Use MemTest86 from a USB drive for a deeper pass.
- Test each slot with a known-good stick.
If a Bluetooth device also disappears from Windows after the upgrade, that's a separate Windows fix, not a RAM fault. If a controller drops inputs during testing, these controller lag fixes can rule out a peripheral issue.
A failed memory test does not always mean the RAM is dead. It can point to a bad slot, unstable voltage, or an incompatible kit. Try the module in the other slot before you return it.
Common Mistakes That Cause RAM Detection Failures
Several common mistakes cause RAM detection failures. Most come down to seating or compatibility.
Forcing the module is a bad idea. It can bend the slot pins. A firm but gentle press is enough.
Mixing DDR4 and DDR5 is a common error. The notch key blocks it. Your laptop will not read the new stick.
Using the wrong slot order can disable dual channel. Check the service manual for the correct pairing.
Ignoring BIOS updates leaves older firmware behind. Update before you test again.
Using a high performance kit in a laptop with limited power delivery can cause instability. JEDEC specs often limit rated speeds.
Letting static discharge damage the module is rare. Ground yourself before touching the contacts.
Skipping a clean surface means dust blocks the notch. Blow out the slot or use compressed air.
Check the warranty before you open the chassis. A voided warranty can add cost later.
Write down the slot population before you move the module. Single stick and dual stick rules differ.
Confirm the module is not a clearance issue. Small form factors can have tight fits.
Keep screws in small bags. Lost screws slow a repair.
RAM Not Detected: Decision Flow and Next Steps
Here is a simple decision flow for a new RAM install.
If the BIOS shows old capacity, check compatibility first.
If the BIOS shows new capacity, check Windows settings.
If Windows shows old capacity, run a memory diagnostic.
If the diagnostic passes, reseat the stick.
If the diagnostic fails, test a known good module.
If no slot works, test the motherboard or seek service.
Start with the exact model and memory type. A decision tree works best when each branch is clear. You can check the myth-themed laptop guide for similar choices.
JEDEC specs often limit rated speeds. You can see the standards at JEDEC.
Check the service manual for the single stick rule.
Test each slot with one module at a time.
Update the BIOS before changing settings.
Run MemTest86 for at least four passes.
If the system still fails, stop and contact the manufacturer.
For a soldered chip, an upgrade is not possible. The fix is different.
For a socketed board, follow the official installation guide.
Keep a log of slot tests and BIOS versions. That saves time later.
If the problem persists, a technician should inspect the board.
Use the same module in the other slot if one slot fails. That tells you if the slot is bad.
Check the RAM frequency and timings before you trust a pass. Aggressive profiles can crash the system.
If the laptop uses LPDDR memory, the upgrade path changes. Check the official memory specification first.
Frequently Asked Questions
Why does my gaming laptop not recognize new RAM?
Your laptop may not recognize new RAM because of generation mismatch, poor seating, or outdated firmware. Check that the SO-DIMM matches your laptop DDR4 or DDR5 slot. Reseat the module and update the BIOS.
Then retest. This takes about ten minutes.
How long does RAM detection take after installing new memory?
First boot can take 30 to 60 seconds while memory training runs. Later boots usually start faster. If detection fails, test one stick at a time.
A full pass takes a few hours. Do not power off during training. Give it time.
Can I use a DDR5 module in a DDR4 gaming laptop?
No. The notch position and voltage differ. The module will not fit or will not work properly.
Check the official memory specification for your laptop first. DDR4 and DDR5 are not interchangeable. This is a firm hardware limit.
Do not force it.
Should I update BIOS before installing RAM?
Yes. Update first if the model supports the new memory. Then install and test.
A fresh BIOS can add memory support. It can also fix training bugs. Keep the charger plugged in.
Do not interrupt the flash. Retest after reboot.
What if MemTest86 fails but BIOS detects the RAM?
Try the other slot. Test a known good module. If both fail, the board or module may be faulty.
Contact support with the results. This saves time on returns. Have the serial number ready.
Mention the failed test. Then decide.