Most gaming PCs ship with a hidden recovery partition but that partition dies the moment you swap the boot drive or run a clean Windows install. Learning how to create a recovery drive for a gaming pc gives you a portable, offline way to repair boot errors roll back bad updates or reinstall Windows with your drivers intact. The process takes roughly twenty minutes and requires only a USB stick and a working Windows session.
We walk through every decision point so the drive actually boots when you need it.
Microsoft specifies a minimum sixteen gigabyte USB drive formatted FAT32 for UEFI boot compatibility yet most builders hit the ninety nine percent failure error because the stick reports less usable space than advertised. A thirty two gigabyte USB three point zero drive is the practical floor and we recommend sixty four gigabytes if you plan to inject chipset GPU and network drivers. The next sections cover the prep checks the creation steps and the verification boot.
How to Create a Recovery Drive for a Gaming Pc
Plug in a USB drive at least thirty two gigabytes. Open Recovery Drive tool in Windows. Check the box to back up system files.
Select the USB drive. Click Create. Wait for the process to finish.
Boot from the USB to verify it works.
Why Gaming PCs Need a Dedicated Recovery Drive
Gaming rigs run custom driver stacks RGB controllers overclocking utilities and manufacturer control centers that a generic Windows reset wipes instantly. A standard Cloud Download reset pulls a clean Microsoft ISO with zero vendor drivers so your fans run at max speed your per key lighting defaults to rainbow wave and your Wi Fi 6E adapter falls back to a generic driver with half the throughput. The OEM recovery partition on the original drive contains the exact factory image but it disappears when you install a larger NVMe SSD or wipe the disk for a fresh start.
A dedicated recovery drive captures the current Windows state including the WinRE environment BitLocker metadata and the EFI partition layout so you can restore a bootable system in minutes not hours. This matters most when you are at a LAN event with no internet or when a cumulative update bricks the bootloader at midnight.
OEM partitions also vanish if you run the Media Creation Tool and choose clean install because that tool rewrites the entire partition table. Manufacturer tools like ASUS Backtracker MSI Recovery Image Backup and Lenovo USB Recovery Creator only work while the original partition exists. Once it is gone you cannot download the factory image without a serial number check that often fails across regions.
Building your own drive while the system is healthy sidesteps every one of those failure modes. You also control the driver injection so the restored system matches your current hardware exactly.
What You Need Before You Start
Gather a USB drive rated thirty two gigabytes or larger USB three point zero preferred. Verify the drive has no data you need because the process formats it without a second confirmation. Have your BitLocker recovery key saved to your Microsoft account printed or stored on a separate USB stick.
You do not need to decrypt the drive but you must be able to unlock it if the recovery environment prompts for the key. Download the latest chipset driver package for your motherboard Intel Z790 B760 AMD X670 B650 from the board vendor site. Download the latest GPU driver from NVIDIA or AMD.
Download the LAN or Wi Fi driver for your specific controller Intel Killer Realtek. Place all driver folders in a single directory named Drivers on your desktop for easy injection later.

Confirm your Windows edition. Home and Pro both support the Recovery Drive tool but Enterprise editions sometimes disable it via group policy. Run the tool as administrator or it will fail silently at the final stage.
Disable Fast Startup in Power Options because it locks the WinRE partition and prevents the tool from reading the current recovery image. If you use a third party antivirus with a kernel filter driver temporarily disable it or add an exclusion for RecoveryDrive.exe. Some suites block the file copy operations that build the winre.wim file.
Finally ensure at least twenty gigabytes of free space on the OS drive the tool stages files there before writing to USB.
Check WinRE, UEFI, and Your OEM Partition First
Open an elevated Command Prompt and run reagentc /info. The output should show Windows RE status Enabled and list a valid WinRE location path. If status reads Disabled run reagentc /enable then verify again.
A disabled WinRE means the Recovery Drive tool cannot copy the recovery environment and will produce a drive that only offers troubleshooting menus not a full reinstall. Next check the firmware mode. Run msinfo32 and look for BIOS Mode.
It must say UEFI. If it says Legacy your drive must be formatted MBR not GPT and Secure Boot will be unavailable. Most gaming boards sold since twenty fifteen default to UEFI with Secure Boot enabled.
Inspect the partition layout in Disk Management. You should see an EFI System Partition (ESP) roughly one hundred megabytes a Microsoft Reserved Partition (MSR) sixteen megabytes the Windows partition and a Recovery Partition at the end usually five hundred megabytes to one gigabyte. If the Recovery Partition is missing or shows zero bytes the OEM image is gone.
That is fine your custom drive will replace it but you must inject drivers manually. If you see a second large partition labeled Recovery or Factory Image that is the OEM restore partition. Do not delete it unless you have already built a working recovery drive and tested it.
Some boards like ASUS ROG and MSI MEG expose a dedicated USB BIOS Flashback port that can restore firmware without a CPU. That is unrelated to Windows recovery but useful if a bad BIOS update bricks the board.
Build the Recovery Drive Step-by-Step
Insert the USB drive. Open Start type Recovery Drive and press Enter. The User Account Control prompt appears click Yes.
The Recovery Drive wizard opens. Check the box labeled Back up system files to the recovery drive. This is the critical switch.
Without it the drive only holds the WinRE troubleshooting menu. With it the drive contains a full install.wim image that can reinstall Windows. Click Next.
The tool scans for USB drives. Select your target drive. Confirm the warning that all data will be erased.
Click Create. The process copies files stages the image and writes to the USB. On a USB three point zero drive with an NVMe source this takes twelve to twenty five minutes.
Do not remove the drive until the wizard says The recovery drive is ready.
Format the USB Drive Correctly
If the wizard fails to detect the drive or errors at ninety nine percent the partition table is likely wrong. Open an elevated Command Prompt. Run diskpart.
Type list disk identify your USB by size. Type select disk X replacing X with the USB number. Type clean to wipe all partitions.
Type convert gpt for UEFI systems. Type create partition primary. Type format quick fs=fat32 label=RECOVERY.
Type assign letter=R. Type exit. The drive is now a clean GPT FAT32 volume labeled RECOVERY.
Rerun the Recovery Drive tool it should now see the drive and complete without error.
Create the Drive with Windows Recovery Tool
Follow the wizard steps above. When the tool finishes click Finish. Do not eject yet.
Open File Explorer navigate to the RECOVERY drive. Verify the folders sources efi and boot exist. Inside sources you should see winre.wim and install.wim.
The install.wim file will be several gigabytes. If it is missing the Back up system files box was not checked. Delete the drive contents and rerun the tool with the box checked.
Add Chipset GPU and Network Drivers
Mount the install.wim to inject drivers. Create a folder C:\Mount. Run elevated PowerShell.
Execute dism /Mount-Image /ImageFile:R:\sources\install.wim /Index:1 /MountDir:C:\Mount. Then run dism /Image:C:\Mount /Add-Driver /Driver:C:\Users\YourName\Desktop\Drivers /Recurse /ForceUnsigned. This injects every inf file in your Drivers folder.
When it completes run dism /Unmount-Image /MountDir:C:\Mount /Commit. The drivers are now baked into the install image. Any system restored from this drive will have working chipset LAN audio and GPU acceleration on first boot.
Boot From the USB and Verify It Works
Restart the PC. Spam the boot menu key F12 F8 Delete or Escape depending on the board. Select the UEFI entry for your USB drive usually labeled UEFI RECOVERY or the drive model.
The Windows RE environment loads. Choose Troubleshoot then Recover from a drive. If you see the option Keep my files and Remove everything the drive is fully functional.
Cancel the wizard. The test is complete. Label the physical drive with a marker Win11 Recovery PC Name Date.
Store it in a static bag away from magnets and heat.

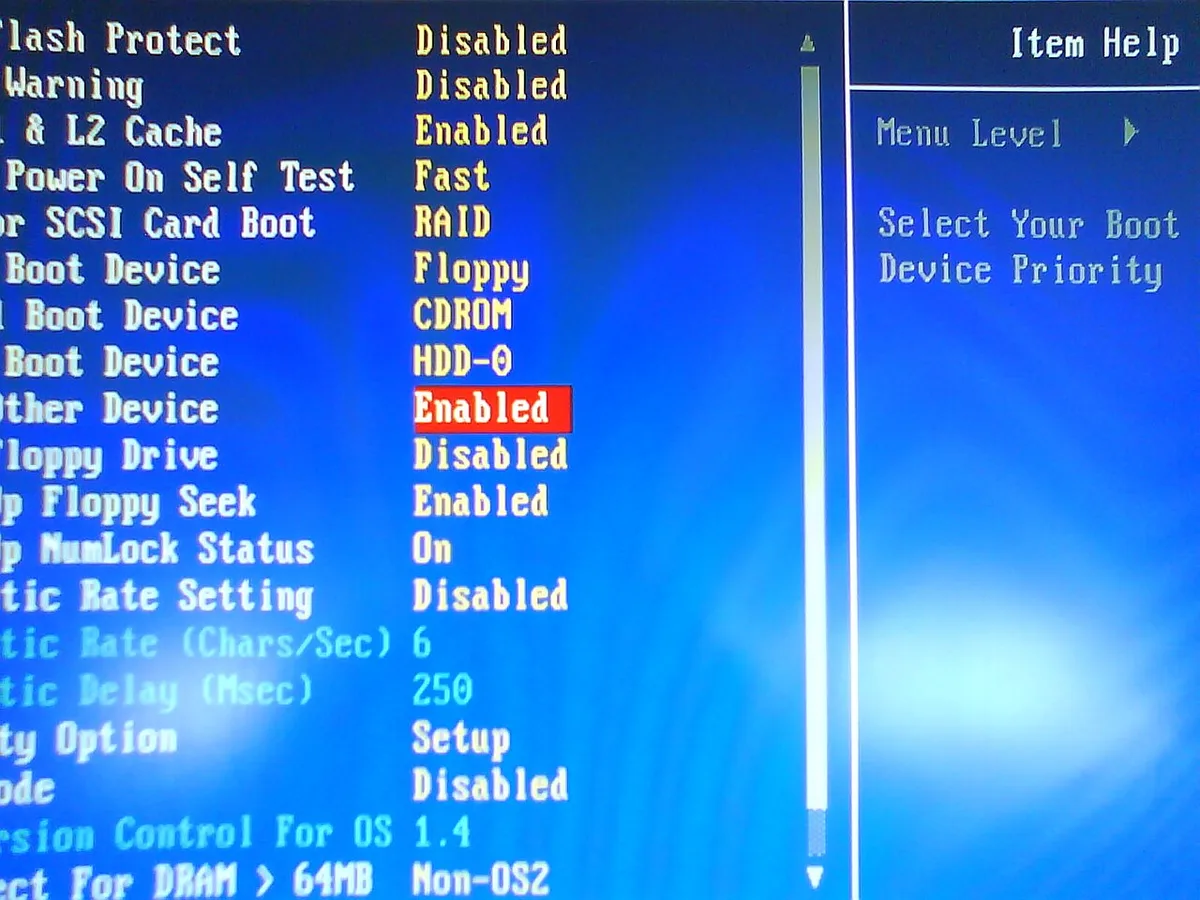
If the USB does not appear in the boot menu enter the firmware setup. Disable Fast Boot enable CSM only if the drive is MBR otherwise leave CSM disabled. Ensure Secure Boot is enabled for UEFI GPT drives.
Move the USB to the top of the boot order. Save and exit. If the drive still refuses to boot recreate it on a different USB stick.
Counterfeit or failing flash drives are the number one cause of silent corruption.
Common Errors and Fixes
If reagentc /info shows Windows RE status Disabled the wizard cannot copy the recovery environment. Run reagentc /enable then check the status again before starting the tool.
If the USB drive does not appear in the wizard the partition style is likely wrong. UEFI systems require GPT not MBR. Open diskpart clean the drive convert it to GPT and format it FAT32 then rerun the wizard.
If creation stalls at ninety nine percent the stick usually reports less usable space than advertised. A sixteen gigabyte drive often formats to about fourteen point nine gigabytes which is too small once system files are added. Switch to a verified thirty two gigabyte USB three point zero drive.
If BitLocker demands a recovery key at boot and you never saved it the drive cannot unlock that machine. Back up the key to your Microsoft account before you create the drive.
If the firmware ignores the USB enter the boot menu and disable Fast Boot. Confirm Secure Boot is enabled move the USB to the top of the boot order and save. If it still will not boot try a different physical port preferably a rear USB three point zero jack.
Recovery Drive vs System Image vs Cloud Reset
These three options serve different recovery needs.
| Option | Best For | What It Restores |
|---|---|---|
| Recovery Drive | Boot failure corrupt WinRE driver rollback | Current Windows install with injected drivers |
| System Image | Complete drive failure bare metal restore | Exact partition layout and all data at image time |
| Cloud Reset | Clean slate malware removal no local image | Fresh Windows without vendor drivers or apps |
Choose a recovery drive when you need to fix a bootable system quickly without internet. It keeps your chipset GPU and network drivers baked in so peripherals work immediately. Use a system image if you clone drives regularly and want an exact snapshot of programs settings and files.
It requires more storage but restores everything bit for bit. Choose Cloud Download reset only when you want to wipe everything and start from scratch. It downloads roughly four gigabytes from Microsoft and removes OEM bloatware but also removes your custom fan curves RGB profiles and motherboard utilities unless you reinstall them.
Keep Your Recovery Drive Current
Rebuild the drive after major Windows feature updates. A new build changes the WinRE environment and an old drive may fail to recognize the current partition layout. Check WinRE status quarterly with reagentc /info.
Refresh injected drivers when you swap major hardware. A new GPU or motherboard chipset means the stored install.wim lacks the correct inf files. Re-run the driver injection steps or recreate the drive entirely.
Store the physical drive in an anti-static bag away from heat and magnetic sources. Label it with the PC name and creation date. Test the boot once per year to confirm the USB has not degraded.
Flash storage loses charge over time and an untested drive may fail when you need it most.
If you enable BitLocker after creating the drive update your Microsoft account recovery key. The drive itself does not store the key securely enough to rely on as your only backup.
Frequently Asked Questions
Can I use the same recovery drive on multiple gaming PCs?
No. The drive inherits the digital license and hardware abstraction of the source machine. Booting it on a different motherboard often triggers activation failures and missing storage drivers.
Do I need an internet connection to create the drive?
No. The process copies local WinRE files to USB. You only need internet to download drivers before injection if you do not already have them.
How long does creation take?
Twelve to twenty five minutes on a USB three point zero drive. Slower USB two point zero drives can exceed forty minutes.
Will the recovery drive delete my files?
The tool formats the USB stick without warning. It does not touch files on your PC during creation. Selecting Recover from a drive later will erase the target PC.
Can I add more drivers after creating the drive?
Not easily. You must remount install.wim add drivers and reimage. It is simpler to inject all needed drivers before the final creation step.