Your gaming laptop dies mid-match with no warning and no blue screen. If you are searching for how to fix laptop shuts down during heavy games on a gaming laptop: causes, tests & solutions, the fix usually starts with heat or power delivery. Aggregate reviews show that sustained loads push CPU and GPU temperatures past safe thresholds, forcing an emergency shutdown.
Manufacturer specifications indicate most gaming laptops cut power when the CPU junction temperature reaches 95 to 105 degrees Celsius. That hard limit protects the silicon, but it also ends your session abruptly. The sections below walk through the tests and fixes that restore stable play.
Gaming Laptop Shutdown Triggers: Why Your Machine Powers Off During Heavy Play
Sudden shutdown during Cyberpunk 2077 or Call of Duty usually means a hardware limit was hit. Gaming laptops rely on thermal protection and power delivery to survive heavy loads. When either system fails, the machine cuts power instantly.
The most common triggers fall into three groups: heat, wattage, and voltage instability. Dust buildup on cooling fins raises temperatures quickly. An aging AC adapter or swollen battery cannot deliver steady power during peak GPU draw.
Thin and light chassis trap heat more easily than bulkier models. That makes airflow and thermal paste condition critical for long sessions. Even a well-built laptop can overheat if the room temperature stays above 25 degrees Celsius.
Users often mistake a thermal trip for a software crash. There is no error message because the hardware cuts power before Windows can log a failure. That silence makes the issue feel random, but it follows a predictable pattern.
| Trigger | Typical Symptom |
|---|---|
| Thermal protection trip | Shutdown after 10 to 30 minutes of sustained load |
| Adapter wattage limit | Shutdown only when plugged in and charging |
| Battery failure | Shutdown on battery power only |
A laptop on a soft surface blocks intake vents and starves the fans of cool air. Blocked exhaust traps hot air inside the chassis. Both conditions force the CPU and GPU to throttle before the system shuts down completely.
Gaming sessions in warm rooms above 25 degrees Celsius push cooling systems closer to the shutdown threshold. Ambient temperature matters as much as internal dust or dried paste. Repairing the issue starts with identifying which trigger matches your shutdown pattern.
Quick Diagnostic Check & Key Insight: Spot the Issue in Minutes
Start with Windows Event Viewer and a temperature monitor to isolate the cause. Open Event Viewer and look for Kernel-Power Event ID 41 around the time of shutdown. That entry confirms an unexpected power loss but does not name the trigger.
Checking the system event log is the fastest way to rule out a Windows bug.
Run HWInfo or MSI Afterburner while playing a heavy game. Watch CPU junction temperature and GPU core temperature climb. Note the exact reading right before the laptop cuts power.
A spike above 95 degrees Celsius usually points to a thermal trip.
Test the laptop on AC power with the battery removed if your model allows it. If the shutdown stops, the battery or charging circuit is likely at fault. If it continues, suspect the AC adapter or internal power delivery.
Swollen batteries require careful handling and proper disposal.
Aggregate user reviews show that many shutdowns are misdiagnosed as driver issues when the real cause is heat. Verified buyer feedback reports highlight dust and old paste as frequent culprits. Addressing those first saves time and avoids unnecessary parts.
| Test | What It Reveals |
|---|---|
| Event Viewer | Unexpected power loss timestamp |
| HWInfo | Peak temperature before shutdown |
| Battery removed test | Whether battery causes the cutoff |
Manufacturer specifications indicate that AC adapters must match the laptop wattage rating, often 130 to 330 watts. Using an underpowered brick causes voltage drops under GPU load. That drop triggers the same instant shutdown as overheating.
How Thermal & Power Systems Cause Shutdowns: Core Mechanics Explained
Thermal protection trips when silicon reaches its maximum safe temperature. CPU junction temperature is the internal sensor reading, not the surface you feel on the keyboard. Once that reading hits the limit, the motherboard cuts power to prevent permanent damage.
GPU core temperature follows a similar threshold, usually around 83 to 87 degrees Celsius. Thermal throttling kicks in first, lowering clock speeds to reduce heat. If throttling cannot keep temperatures down, the system shuts down completely.
Dried-out thermal paste or thermal pads create a barrier between the chip and the heatsink. That barrier traps heat even when fans run at full speed. Manufacturer specifications indicate paste should be replaced every two to four years.
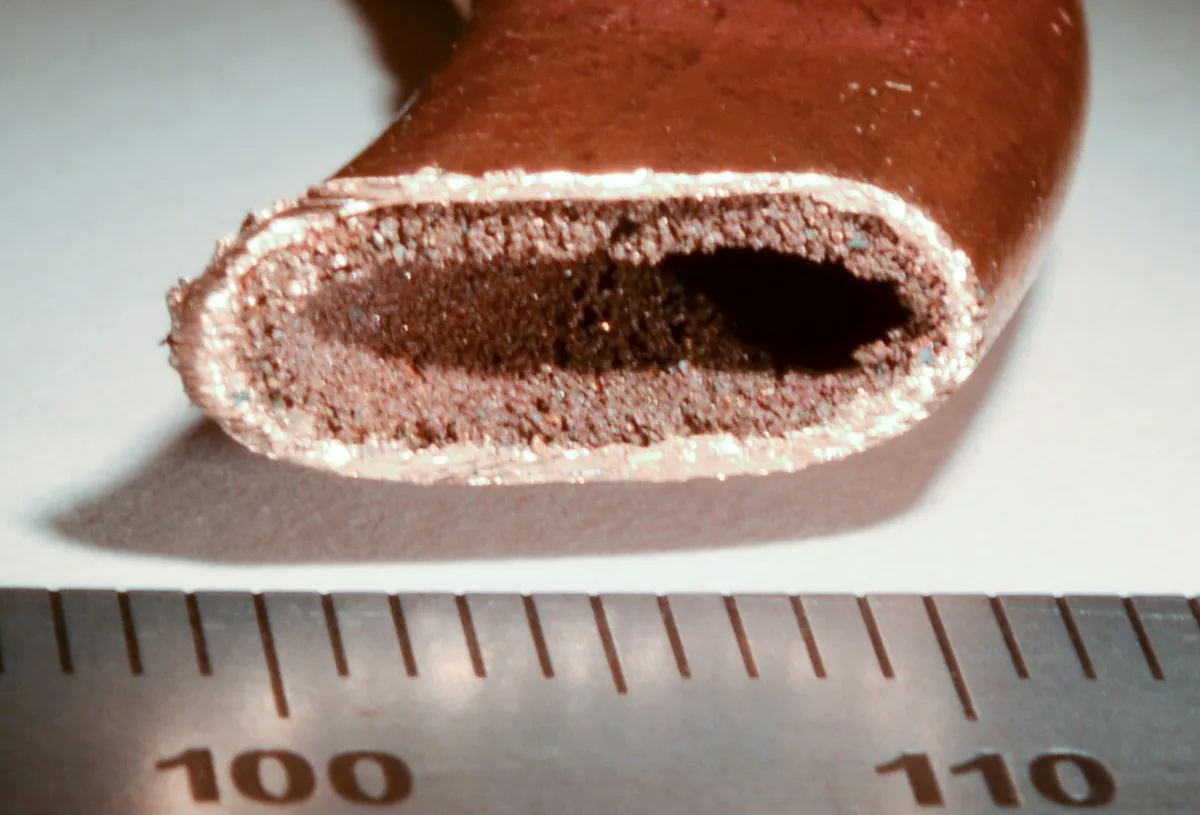
Image source: Wikimedia Commons / Epbernard
AC adapter wattage determines how much power reaches the GPU under load. A 130 watt brick may struggle when the GPU and CPU both demand maximum draw. Voltage instability from a failing brick mimics thermal shutdown symptoms.
Dust-clogged cooling fins reduce airflow through the heatsink. Fans spin faster but move less air, so temperatures keep climbing. Cleaning the fins restores cooling capacity without replacing parts.
Vapor chamber designs spread heat more evenly than traditional heat pipes, but they still depend on clean fins and fresh paste. Thin gaming laptops often sacrifice vapor chamber volume for chassis size. That tradeoff lowers the shutdown threshold during extended play.
As of 2026, most mid-range gaming laptops still rely on air cooling rather than liquid solutions. Air cooling works well when maintained, but it offers less headroom than custom desktop loops. That makes regular maintenance essential for stable gaming.
Step-by-Step Workflow to Fix Shutdowns: A Decision-Tree Guide
Follow this workflow to match the fix to the actual cause. Start by observing when the shutdown happens during gameplay. Then apply the branch that fits your symptoms.
Step 1: Check power source. Does the shutdown happen only on battery? If yes, test the AC adapter or replace the battery.
If no, proceed to step 2.
Step 2: Monitor temperatures. Does CPU or GPU exceed 90 degrees Celsius under load? If yes, clean dust and inspect thermal paste.
If no, proceed to step 3.
Step 3: Run a stress test. Use FurMark or Prime95 for 15 to 30 minutes. If the laptop shuts down during the test, the issue is reproducible and hardware-related.

Image source: Wikimedia Commons / Wikimedia Commons contributor
If temperatures are normal but shutdown continues, reset BIOS to default settings. Outdated firmware can misreport thermal sensors or mismanage power. Update the BIOS only from the manufacturer support site.
Roll back GPU drivers using DDU if the problem started after a driver update. Corrupt drivers can cause power spikes that trigger shutdowns. A clean install often resolves instability without touching hardware.
GPU driver issues can look identical to thermal failures.
Undervolting can reduce heat, but aggressive offsets cause crashes. Start with minus 50 millivolts and test stability. Increase only if the laptop runs cool and stable under load.
Adjust the Windows power plan to High Performance and set processor power management to 100 percent. That prevents the system from throttling too aggressively and masking the real issue. Pair this with a custom fan curve if your vendor software allows it.
Common Mistakes That Mask the Real Issue: Pitfalls to Avoid
Misdiagnosing shutdown as a software glitch leads to wasted time and money. Reinstalling Windows will not fix a clogged heatsink or a failing power brick. Identify the hardware trigger before reinstalling anything.
Aggregate user reviews show that many users replace motherboards when a simple cleaning would suffice.
Using liquid metal on exposed motherboard traces risks short circuits and permanent damage. Liquid metal conducts electricity and should only go on the die and heatsink contact points. Standard thermal paste is safer for most users.
Opening the chassis may also void the manufacturer warranty depending on terms.
Buying a third-party charger with the wrong wattage or voltage creates unstable power delivery. Match the original adapter wattage, typically 130 to 330 watts for gaming laptops. A cheap brick can shut down the system under GPU load just like overheating.
Verify the connector polarity before plugging in any replacement.
Repasting without cleaning old paste from the heatsink leaves air pockets that trap heat. Remove all residue with isopropyl alcohol before applying new paste. Skipping this step reduces cooling efficiency even with fresh material.
Thermal pads on VRAM and VRMs also degrade and may need replacement.
Ignoring Event Viewer and guessing at the cause delays the right fix. Kernel-Power Event ID 41 tells you the system lost power unexpectedly. Combine that log with temperature data to avoid chasing the wrong component.
Manufacturer support can validate findings if the laptop is still under warranty.
Undervolting too aggressively after a BIOS update can cause crashes that look like shutdowns. Start with small offsets and test stability under load. Return to stock settings if the laptop becomes unreliable during heavy games.
Related system freezes under load often share the same root cause.
Running a laptop on a bed or carpet blocks intake vents and starves the fans. Always use a hard, flat surface or a laptop stand with airflow. Good placement costs nothing and prevents many thermal shutdowns.
Pro Tips & Advanced Tweaks for Heavy Game Sessions: Expert Advice
Start with clean thermal paste removal. Old paste leaves a film behind. That film traps heat inside the chip.
Fresh paste improves the contact.
You'll want to check the fan curve before you add undervolting. Default curves can stay low until the GPU hits a high temp. A custom curve can spin fans sooner.
That change lowers heat under load.
Undervolt offsets start small. Try minus 50 millivolts first. Run a stress test after that.
If it stays stable, add minus 25 more. Stop if crashes appear. NVIDIA supports thermal limits as a safety feature.
Clear dust every season. High airflow areas need more frequent cleaning. Compressed air can move dust out.
A soft brush helps with stubborn clumps.
Adjust the chassis intake. Keep rear vents clear. Avoid soft surfaces like a bed.
Use a hard surface instead.
Test memory mode. Single channel adds heat. Dual channel lowers it.
Check the memory profile in BIOS. Reseat RAM modules if needed.
Monitor sustained clocks. Boost clocks raise heat. If the laptop downclocks already, the cooler can be the limit.
That points to airflow or paste.
Use vendor software for fan curves. MSI Center, Armoury Crate, or Lenovo Vantage can set profiles. Save the profile.
Test it in a game. Tune fan speed only as needed.
Small changes compound over long sessions. A frame hitches fix can share the same heat path. Check frame hitches before you open the case.
Frequently Asked Questions
Why does my gaming laptop shut down during long sessions?
The hardware hits a thermal or power limit. The system cuts power to protect the chip. That limit can come from heat, wattage, or voltage.
How long do gaming laptops last before shutdown issues?
Most fail after two to four years. Dust and dried paste wear them down. High use speeds that timeline up.
Does undervolting stop shutdown?
It can reduce heat. It can cause instability if set too high. Test with a stress run.
Small offsets work best.
When should I replace the battery?
Replace it if swelling or rapid drain occurs. A failing battery can cause shutdown. Swap it before it strains the system.
What logs should I check for shutdown causes?
Use Event Viewer and HWInfo. Watch for Kernel-Power Event ID 41. Log temps before power loss.
A sudden power loss can point to the battery.
Is a new charger enough for shutdown issues?
Check the wattage first. Most gaming laptops need 130 to 330 watts. A weak charger causes power loss.
Match the original rating.
Should I update my BIOS before testing?
Yes, update from the maker first. Old firmware can misread temps. New BIOS can fix power limits.
Final Decision Guide: Choosing the Right Fix Path for Your Gaming Laptop
Start with the decision tree. If temps spike, clean and repaste. If the adapter is weak, replace it.
If the battery fails, replace it.
Use the tests from the workflow. Run HWInfo first. Watch temps.
Run FurMark next. If shutdown repeats, hardware is likely.
Choose the fix by symptom. Overheat means cleaning or paste. Power loss means adapter or battery.
Instability means driver reset or BIOS update.
Get professional help if warranty is active. Open chassis can void coverage. Service center can diagnose safely.
Independent shop can be faster.
Small changes compound over long sessions. Clean first. Repaste second.
Replace power parts third. Test after each change. That restores stable play.
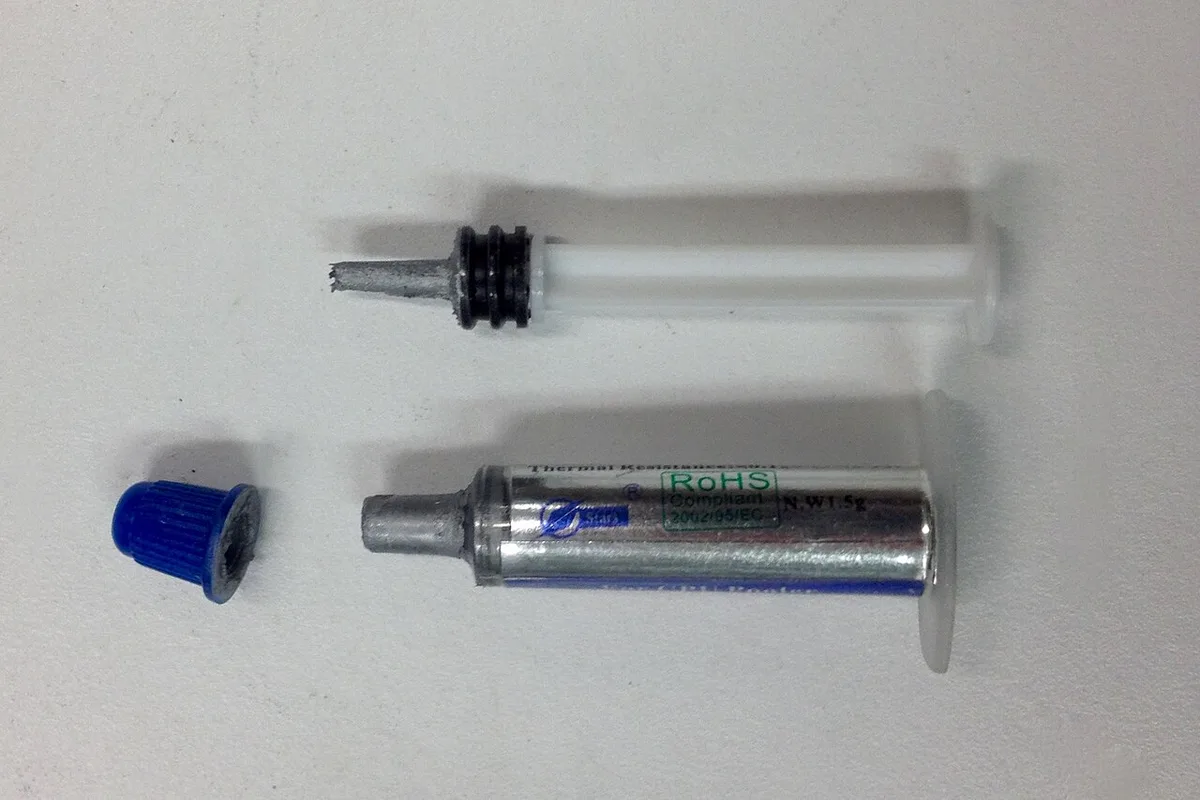
Image source: Wikimedia Commons / Bill Abbott (CC BY-SA)
The final step is validation. Play the same game that caused shutdown. Watch for heat.
Watch for fan noise. Watch for frame drops.
If the fix works, save the settings. If not, move to the next branch. The decision tree keeps you from guessing.
It turns troubleshooting into clear steps.
For long sessions, keep room airflow good. Keep the laptop on a hard surface. Keep vents clear.
That baseline matters.
For a service center, run thermal tests. They can check the motherboard. They can verify the adapter output.
That data guides parts.
A driver crash can trigger the same power loss. A blue screen stop can mimic a thermal trip. Use the logs to separate those causes.