You've got a BIOS update waiting, and no clear answer on whether to install it. That's exactly why How to Fix Should I Update Bios On Gaming Laptop on a Gaming Laptop is worth reading before you tap yes. Done right, a flash fixes crashes and unlocks hardware support.
Done wrong, on the wrong file, it can leave a laptop that won't post.
The stakes are real because the BIOS lives on a soldered flash chip, often 16 to 32 MB, and rewriting it has no undo button without recovery hardware. NIST's BIOS protection guidance treats that chip as the root of trust for the whole machine. Here's how to decide, and how to flash safely.
How to Fix Should I Update Bios On Gaming Laptop on a Gaming Laptop
Should you update BIOS on a gaming laptop? Only for a real reason. Read the vendor's changelog for your exact SKU first.
If it names your crash or hardware issue, update. If it's vague and the machine is stable, skip it. Flash on AC power, never on battery alone.
The Real Risk: Why BIOS Updates Brick Gaming Laptops
The BIOS isn't software sitting on your drive. It's firmware on a small SPI flash chip soldered to the motherboard, commonly 16 or 32 MB.
A flash erases that chip and writes a fresh image in place. Cut power halfway and the chip holds half an image. Windows can't rescue you, because Windows needs firmware to boot.
You get a black screen and a loud fan.
Recovery depends on hardware you may not own. Some boards offer USB BIOS Flashback, which rewrites the chip with no working CPU or RAM. A few carry two BIOS chips as backup.
Plenty of budget gaming laptops have neither.
Then there's the wrong file. Vendors reuse one chassis across many SKUs with different panels and GPUs, so a near-match can install cleanly and still leave you broken. NIST's BIOS protection guidance explains why that chip sits underneath everything else on the machine.
Without Flashback, the fix is a repair shop with an SPI programmer, often $50 to $150, and no guarantee your data survives.
Quick Verdict: Update Only If You Hit These Specific Triggers
Update when the release notes name a problem you actually have. Skip when the notes are vague.
First, confirm what you're running. Type msinfo32 into the Start menu and read the BIOS Version and Date line. In PowerShell, Get-CimInstance Win32_BIOS gives the same answer.
Compare it to the newest file listed for your exact model.
| Update now | Hold off |
|---|---|
| New CPU or memory isn't detected or supported | Machine is stable and you're mid-project |
| Changelog names your crash, stutter, or wake bug | Notes only promise "improved stability" |
| Microcode or security advisory covers your CPU | Battery is swollen, loose, or below 40% |
| You need resizable BAR, PCIe 4.0, or a DDR5 speed fix | You're traveling with one charger and no backup |
Hardware swaps are the strongest single reason. Memory training tables live in firmware, so if input devices act up after a memory swap, a firmware update often knows more than the drivers do.
Power is the dealbreaker. Plug in, check battery health, and don't start on a sagging pack.
What a BIOS Update Actually Changes for Gaming Performance
Short answer: a BIOS update doesn't add frames. Anyone promising a 20% FPS jump from a version bump is selling something.
What it changes is everything around the frames. As of 2026, DDR5 is standard on mid-range and up, which makes memory training the biggest practical win.
- Updated memory tables, so a kit boots at its rated speed instead of 4800 MT/s.
- Revised fan and power curves from the embedded controller, meaning lower sustained temps before throttling.
- Microcode fixes that stop WHEA errors, idle reboots, and random shutdowns.
- PCIe link stability, which sits behind a lot of GPU dropouts.
- Wake and charge behavior, including ports quitting after wake.
| Claim | What's really going on |
|---|---|
| Faster gaming | Indirect only, from clocks and temps |
| Smoother frametimes | Usually a USB, PCIe, or EC fix |
| Better battery life | New power and charge tables |
Measure before and after. Log GPU clocks, CPU package temp, and frametimes across the same 20-minute run. If a wired mouse stutters before and after, and the numbers haven't moved, the update did nothing for gaming.
Decision Tree: Your Exact Path Based on Symptoms and Hardware
Walk this in order. Stop the moment you hit a no.
- Do you have a specific, repeatable problem? If no, stay where you are.
- Does the changelog name that problem? If no, update chipset, GPU, and EC drivers first.
- Is the file for your exact model and SKU? If no, stop. Don't guess.
- Is AC power connected with a healthy battery? If no, fix that and come back.
- Do you have BIOS Flashback or dual BIOS? If yes, you have a safety net. If no, treat this as one shot and clear your calendar.
If the screen stays black afterward:
- Wait the full 10 minutes. Some boards write two regions.
- Retry Flashback with the file renamed exactly as your manual says.
- Hold power for 30 seconds, then reseat the internal battery or CMOS cell if you can reach it.
- Last resort is a shop with an SPI programmer.
If it boots but behaves oddly, load optimized defaults, then re-enable virtualization, Secure Boot, EXPO or XMP, and resizable BAR. Big updates reset these silently. Check input that dies only in Windows before assuming hardware damage.
Step-by-Step Flash Workflow: From USB Prep to Post-Update Verification
Before you start
- Find the real SKU on the bottom label, not just the series name.
- Download from the support page for that SKU only. ASUS support and the equivalent pages from MSI, Razer, and Alienware are the only sources you want.
- Format a plain 8 to 32 GB stick to FAT32, single partition. Rename the file if your manual demands it, which Flashback always does.
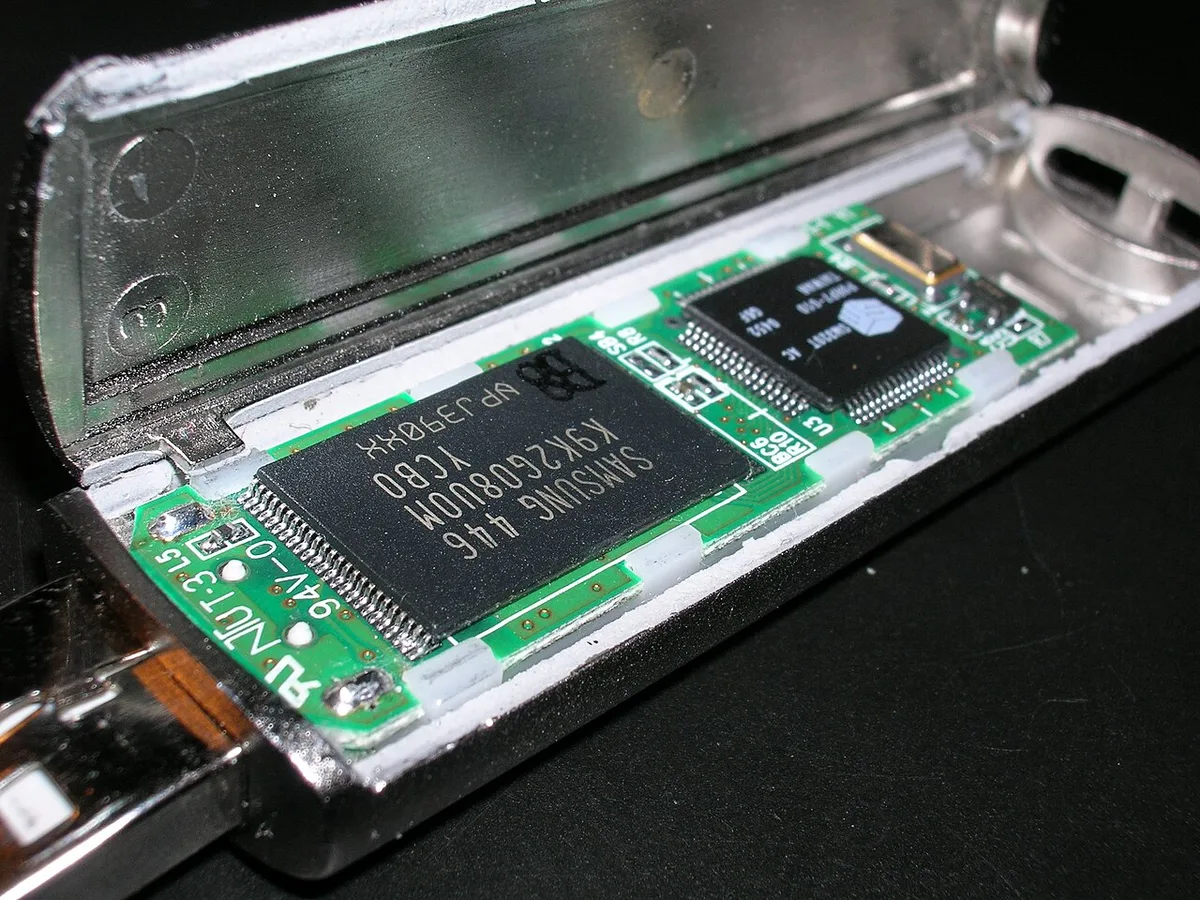
Image source: Wikimedia Commons / Nrbelex (CC BY-SA)
- Connect AC and confirm the battery is above 50%.
- Disable sleep and hibernate for the session, and close background apps.
- Unplug docks, hubs, and any SSD on USB-C. A browning-out hub mid-flash is a genuine failure path.
- Write down your current BIOS settings on paper. You'll need them.
The flash itself
- Reboot into the in-firmware updater such as EZ Flash or M-Flash when you have the choice. Windows-based updaters add another thing that can crash.
- Select the file, confirm the model string on screen matches your laptop, and start.
- Hands off. The write usually takes 1 to 5 minutes, and the machine will reboot on its own.
After the reboot
- Re-enter the BIOS and confirm the version string changed.
- Load optimized defaults, then switch back on what you wrote down.
- Boot Windows and run a real stability test, ideally a game plus a stress run.
If the version didn't change, the flash never took. Repeat with a freshly downloaded file before you assume the worst.
Mistakes That Kill Motherboards (And How to Recover If It Goes Wrong)
The deadliest mistake is starting a flash on battery power. Laptop batteries sag under load, and a voltage dip while writing the SPI chip turns the board into a paperweight. Plug in first.
Verify the adapter is rated for your model. A loose connector fails just as fast as a dead battery.
Using the wrong file is the second killer. Manufacturers reuse one chassis across SKUs with different CPUs and screens. An image meant for a 14-inch Intel build will not boot your 16-inch AMD machine even if the fan spins.
Match the exact model string on the bottom label, not the marketing name on the box.
Interrupting the process is the third error. Closing the lid, pressing a key, or letting Windows restart mid-flash corrupts the firmware. Leave the machine alone until it reboots itself.
If the screen stays black afterward, wait ten minutes. Some boards write two regions before handing control back. Then try USB BIOS Flashback if your board has it.
That button rewrites the chip with no CPU or RAM installed. Without Flashback or dual BIOS, recovery needs an SPI programmer and a repair shop. Expect $50 to $150.
Data on the SSD usually survives because the chip only holds firmware.
Watch for warning signs before you start. A battery that drains in under an hour, a charger that feels loose in the port, or a BIOS screen that flickers on entry all mean you should fix hardware first. Flashing on a sick board is asking for a brick.
Pro Tactics: Checksums, Flashback Buttons, and Rollback Strategies
Verify the download before you flash. Manufacturer pages list a SHA-256 or MD5 hash next to the BIOS file. Run a hash check on your PC and compare the strings character for character.
A single mismatch means the download is corrupt, and flashing it gambles with the motherboard.
USB BIOS Flashback is the best safety net on modern gaming laptops. Plug a FAT32 stick into the labeled port, press the Flashback button with the machine off, and the board pulls the file directly. No OS, no CPU initialization, no Windows interference.
Alienware, ASUS, MSI, and Razer all implement this differently, so read your manual for the exact port and file name requirement.
Rollback works two ways. Some boards keep a backup image in a hidden boot menu. Others require you to re-flash an older file manually.
If games start crashing after an update, download the previous stable version from the vendor archive and repeat the flash process. Only roll back if the new version caused the problem.
Keep a copy of the previous BIOS file on your USB stick after every successful update. That archive becomes your rollback insurance if the next release introduces a bug.
Many vendors also publish release notes that list fixed issues by model number. Read those before you flash, not after. A note that says improved general stability is not a reason to risk the motherboard.
Frequently Asked Questions
Can a BIOS update damage my gaming laptop?
Yes. Power loss mid-flash or the wrong file leaves a black screen because the chip holds the boot instructions. USB Flashback or dual BIOS can recover it.
Without either, you need an SPI programmer or professional repair.
Will updating BIOS improve my FPS?
Not directly. It fixes stability, memory training, and thermal tables. Frame rates only move if old firmware was throttling your CPU or GPU.
Measure clocks and temps before and after.
How long does a BIOS flash take?
The write takes 1 to 5 minutes. The full process including reboot and settings restoration takes about 15 minutes. Do not interrupt it under any circumstances.
Should I update BIOS before a RAM upgrade?
Yes, if the new memory is faster than current firmware supports. Memory training tables live in the BIOS, and an update often unlocks XMP or EXPO profiles so the kit runs at its rated speed.