If your gaming PC feels sluggish after a couple of years, you're not alone. The question of how to extend the useful life of a gaming pc often comes up when frame rates drop and load times stretch. Most owners assume they need to buy a whole new machine, but targeted maintenance and strategic upgrades can add years of service.
Research from the 80 PLUS program shows that a power supply running at 50% load can operate at up to 92% efficiency, which reduces heat and component stress. Understanding why a PC slows down is the first step toward deciding what to do next.
Why Your Gaming PC Is Slowing Down
Thermal throttling is the most common culprit. Modern CPUs and GPUs reduce clock speeds when temperatures exceed safe limits. Dust accumulation in fans and heatsinks blocks airflow, causing temperatures to rise.
Thermal paste dries out over time, losing its ability to transfer heat from the die to the cooler. Replacing it can lower temperatures by 5 to 10 degrees Celsius. Background processes and startup bloat consume RAM and CPU cycles.
A clean reinstall of the OS often frees up resources.
Driver updates from NVIDIA or AMD include performance optimizations and bug fixes. Outdated drivers can cause stuttering and lower frame rates. Storage drives, especially hard drives, slow down as they fill up.
Moving games to an NVMe SSD dramatically reduces load times.
How the Upgrade Decision Branch Works
If your GPU is older than five years and you play at 1080p, start with a GPU upgrade. A newer architecture delivers higher frame rates without touching the rest of the system. If your CPU is bottlenecking, consider a CPU and motherboard combo.
A platform refresh unlocks faster memory and more PCIe lanes.
If your RAM is below 16 GB, add more. Dual‑channel kits improve bandwidth for modern titles. If your PSU is under 500 watts or lacks an 80+ rating, replace it.
A quality unit provides stable voltage and protects components.
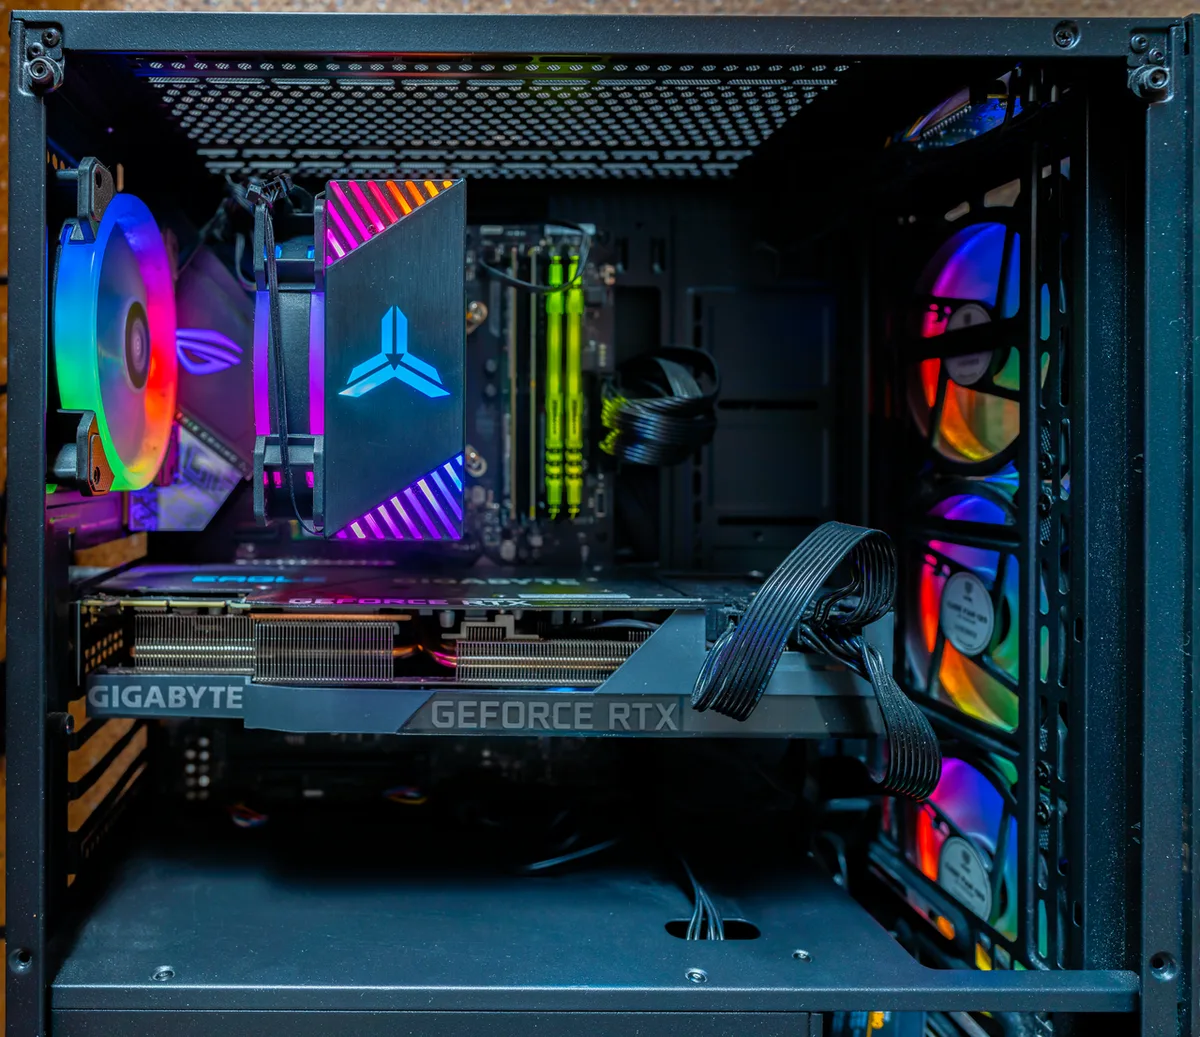
The decision tree also branches on budget. A $300 allocation might cover a mid‑range GPU, while $600 could include a CPU upgrade and a larger SSD. Always check motherboard compatibility before buying a new processor.
For older systems, a cooling upgrade can be the cheapest way to restore performance.
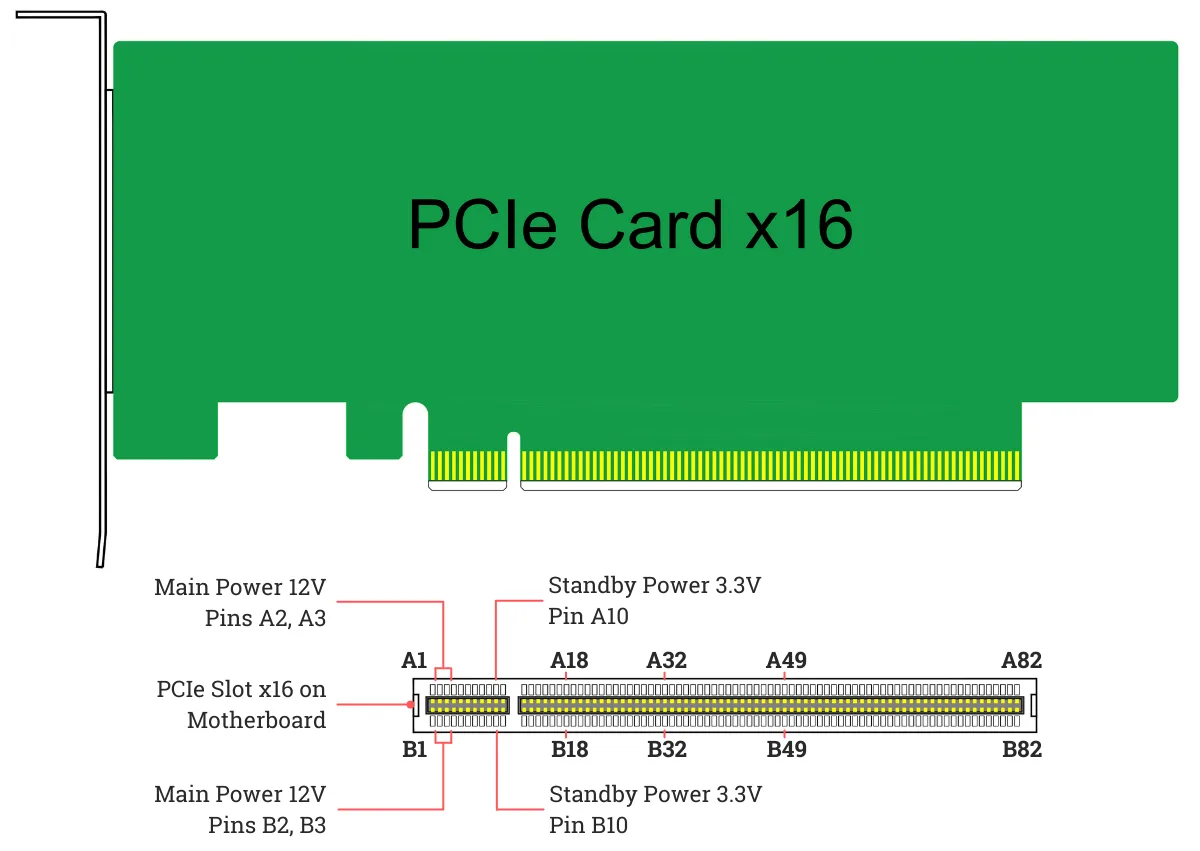
If your case has poor airflow, improving it often yields a bigger return than a component swap. Adding a front intake fan and rerouting cables can drop GPU temperatures by several degrees. When in doubt, use a PSU quality check to ensure you have enough headroom for future upgrades.
Step-by-Step Workflow to Extend Gaming PC Life
- Power down the system, unplug the power cord, and press the power button to discharge residual charge.
- Open the case and remove side panels for full access.
- Use compressed air to blow dust off fans, heatsinks, and filters. Hold fans in place to prevent overspin.
- Remove the GPU and CPU cooler, clean the old thermal paste with isopropyl alcohol, and apply a pea‑sized amount of new paste.
- Reinstall components, ensuring all cables are routed away from airflow paths.
- Enter the BIOS and update to the latest version for stability and security patches.
- Boot into Windows, update GPU drivers, and install any chipset drivers from the motherboard manufacturer.
- Run a stress test such as FurMark or Prime95 for 30 minutes to verify temperatures stay below 85 °C on the GPU and 80 °C on the CPU.
- Adjust fan curves using software like MSI Afterburner to balance noise and cooling.
- Monitor temperatures over several days with HWMonitor and log any spikes above 85 °C.
| Step | Action | Tool / Material |
|---|---|---|
| 1 | Power down and unplug | None |
| 2 | Open case | Screwdriver |
| 3 | Clean dust | Compressed air |
| 4 | Replace thermal paste | Isopropyl alcohol, new paste |
| 5 | Reassemble and route cables | Zip ties, velcro straps |
| 6 | Update BIOS | Manufacturer website |
| 7 | Update drivers | NVIDIA / AMD site |
| 8 | Stress test | FurMark, Prime95 |
| 9 | Tune fan curves | MSI Afterburner |
| 10 | Monitor temps | HWMonitor |
Costs, Data, and Final Recommendation
A typical maintenance cycle costs between $20 and $60 for thermal paste, compressed air, and new cables. A mid‑range GPU upgrade ranges from $250 to $400, while a CPU and motherboard combo can reach $500. A quality 80+ Gold PSU starts at $70 for a 550‑watt unit.
Return on investment is measured in extra years of service. A $300 GPU can add three to four years of playable frame rates at 1080p. A $100 RAM upgrade can extend usability by two years if the system was originally limited to 8 GB.
A $70 PSU replacement can prevent catastrophic failure and protect other components.
When budgeting, prioritize the component that causes the biggest bottleneck. For most users, the GPU delivers the most noticeable improvement. If the CPU is older than six years, a platform swap may be more cost‑effective than incremental upgrades.
For a prebuilt system, check the parts list for red flags before spending on upgrades. Proprietary motherboards or undersized power supplies can limit future options. In those cases, a custom rebuild might be the smarter long‑term play.
Mistakes That Shorten a Gaming PC’s Life
Using a vacuum cleaner to remove dust creates static discharge that can fry sensitive chips. Always use compressed air or a soft brush. Overvolting the CPU or GPU for marginal clock gains dramatically increases heat and reduces component lifespan.
Skipping fan curve tuning forces fans to run at full speed, causing bearing wear and noise. Ignoring dust filters lets debris accumulate, restricting airflow and forcing the system to throttle. Using a cheap, unbranded PSU introduces voltage ripple that degrades capacitors over time.
Installing drivers from third‑party sites can bring malware that corrupts system files. Always download from the official NVIDIA or AMD pages. Neglecting to reseat the GPU after cleaning can cause poor contact and intermittent crashes.
For more tips on keeping a prebuilt PC running smoothly, review our guide on removing bloatware and disabling unnecessary startup items.
Frequently Asked Questions
How long does a gaming PC typically last?
With regular maintenance such as cleaning dust and replacing thermal paste every few years, a gaming PC can last 5 to 7 years. Neglecting these tasks often shortens lifespan to 3 to 5 years due to component degradation like dried-out paste and dust-clogged heatsinks.
Can I extend my gaming PC life without upgrading hardware?
Yes, software optimizations, driver updates, and fan curve tuning can restore performance. Removing bloatware and managing startup items frees system resources, often improving responsiveness without new parts.
How often should I clean my gaming PC?
Every 6 to 12 months is ideal for most environments. Pets, smoking, or dusty climates may require cleaning every 3 to 6 months. Compressed air and a soft brush are sufficient for safe dust removal.
Is thermal paste replacement necessary for longevity?
Yes, thermal paste dries out typically every 2 to 4 years, reducing heat transfer. Reapplying quality paste every few years lowers component temperatures by 5 to 10 degrees, directly extending usable life.
What are signs my gaming PC is wearing out?
Common signs include increased fan noise, frequent thermal throttling, longer boot times, and gradual frame rate drops. Monitoring temperatures with HWMonitor helps catch issues before performance suffers.
3 thoughts on “Extend Gaming PC Life: 6 Easy Upgrades & Maintenance Tips”
Comments are closed.