You pulled the heatsink off, cleaned away the crust, laid down fresh paste, and now your CPU runs hotter than it did before you touched it. If you're working through how to fix repaste made temperatures worse on a gaming laptop, the paste usually isn't the villain. Contact pressure, air pockets, and thermal pad thickness are.
Manufacturer specs leave very little room here. Intel's thermal design guidance for mobile chips expects a cold plate sitting flat within a fraction of a millimetre, and modern bare-die parts pull 45 to 75 W sustained. Miss the flatness and the heat has nowhere to go.
Here's how to find the actual cause.
How to Fix Repaste Made Temperatures Worse on a Gaming Laptop
When repaste made temperatures worse on a gaming laptop, contact is usually the culprit. Reopen the chassis and check four things. Paste amount, mounting pressure, pad thickness, and trapped air cause most bad repastes.
Reseat the heatsink in the correct cross pattern. Fit new pads at the right thickness, then retest under identical power limits.
Why Repasting Made Temperatures Worse
Fresh paste doesn't cool anything by itself. It fills the microscopic gaps between a tiny silicon die and a cold plate machined for a flatter surface. If that plate isn't sitting flat, paste grade is irrelevant.
Here's what actually changed during your repaste:
- Contact pressure. Spring-loaded screws set the clamping load. Snug one screw fully before its neighbours and the plate tilts. One core can then sit 12 to 15 °C above the rest.
- Trapped air. A small dot should spread under even pressure. Spread it with a card and you drag bubbles straight across the die.
- Paste thickness. Too much beats nothing, but too much is worse than too little. Good paste conducts around 8 to 13 W/m·K. Copper sits near 400. A heavy layer insulates.
- Pad height. VRM and VRAM pads set the standoff for the cold plate. Fit 1.5 mm pads where the factory used 1.0 mm and the plate lifts off the CPU entirely.
- Fan behaviour. Reassembly can leave the embedded controller running its previous profile.
Confirm the test before blaming the paste. Ambient temperature, PL1/PL2 or PPT limits, and fan curve all move the numbers. Turbo mode heat spikes will hand you a useless baseline.
How to Tell If Your Issue Is TIM-Related
Log your sensors before you open anything again. HWiNFO64 gives you per-core temperatures, CPU hotspot, GPU core, GPU hotspot, memory junction, fan RPM, and package power. Ten minutes of logging tells you more than an hour of guessing.
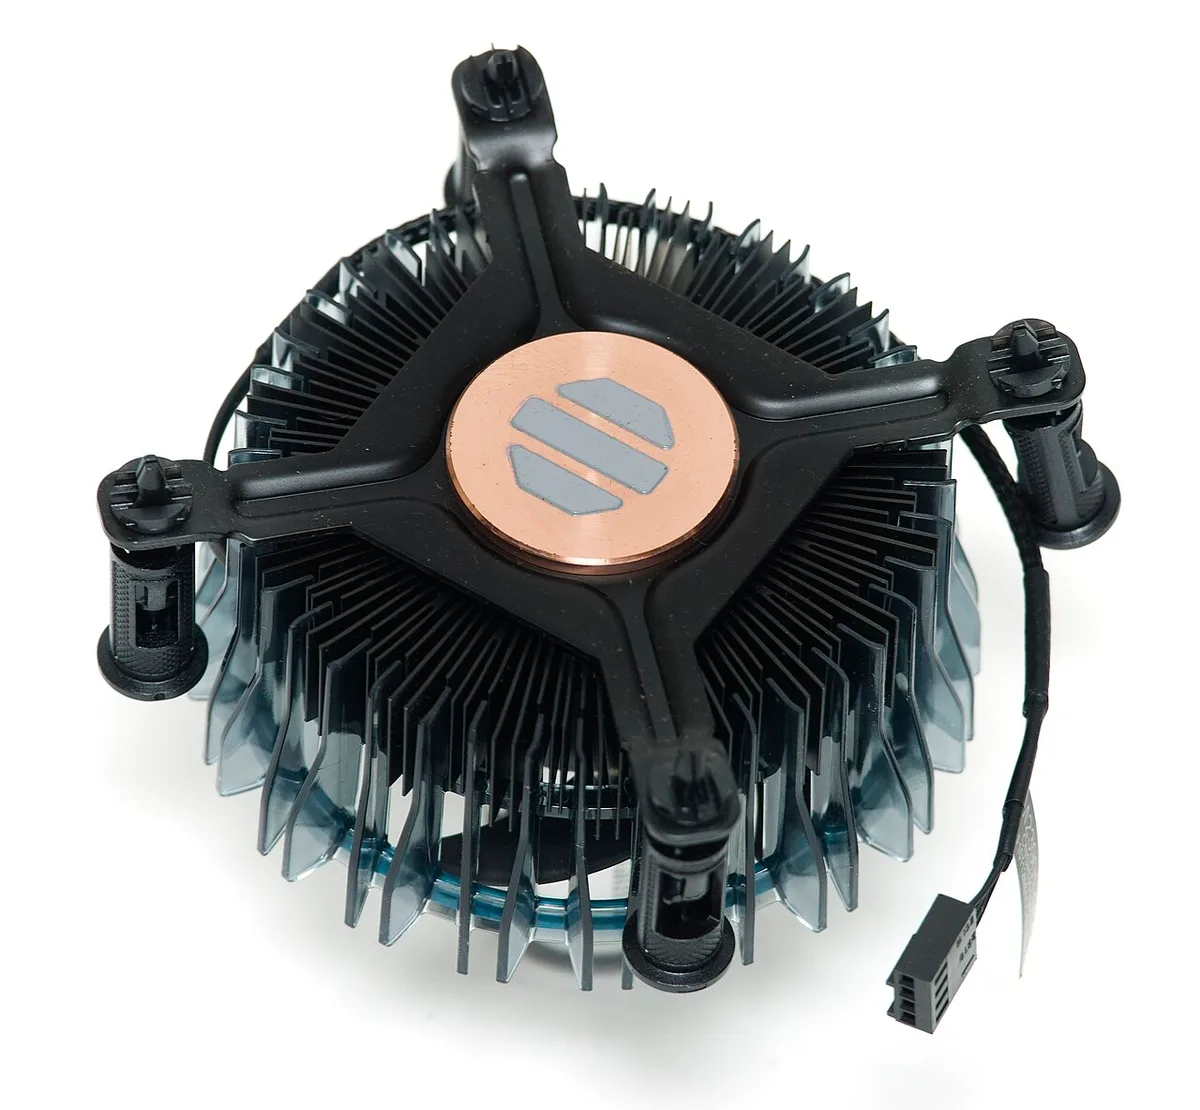
Image source: Wikimedia Commons / Ashley Pomeroy (CC BY)
What do the sensor gaps tell you?
An even spread across every core means your paste isn't the problem.
| Reading | Likely cause | Next move |
|---|---|---|
| One core 10 °C+ above its siblings | Cold plate tilted | Reseat in cross pattern |
| GPU hotspot 15 °C+ above GPU core | Mount gap or missing pads | Check pad stack and screws |
| CPU and GPU both hotter | Airflow, fan, or ambient | Verify fan RPM and intake |
| Temps normal, clocks low | Power limit or fan profile | Check PL1/PL2 and PPT |
Match your test conditions to the original run. Same room, same power limits, same fan curve, same game. For repeatable figures, JEDEC's JESD51 methodology is the reference the industry uses for thermal measurement, which is exactly why ambient and airflow notes matter.
If clocks sit under spec while temperatures look fine, you're chasing a power limit, not a paste. And if the fans stay silent after reassembly, try a clean BIOS reset to reload the default fan table.
Step-by-Step: Properly Re-repaste Your Gaming Laptop
- Kill all power. Shut down, unplug, then disconnect the internal battery connector with a plastic spudger.
- Map every screw. Photograph the heatsink, then lay the screws on a printed outline. Wrong-length screws punch the board or bottom out in the cold plate.
- Clean both faces. Isopropyl alcohol at 90% or higher, lint-free wipe, plastic scraper for the crust. Let it flash off for two minutes.
- Measure the old pads. Digital calipers, 0.01 mm resolution. Match factory thickness within about 0.15 mm and replace every pad.
- Apply one small dot. Roughly 0.05 to 0.1 ml, about 2 to 3 mm wide, dead centre of the bare die. Don't spread it.
- Refit in a cross pattern. Work the numbered screws two or three turns each in rotation. Final torque lands at 0.3 to 0.5 Nm if your service manual lists a figure.
- Retest at matched settings. Same ambient, same fan curve, same power limits as your before-repaste log.
| Item | Spec to look for | Why it matters |
|---|---|---|
| Isopropyl alcohol | 90% or higher | Lifts paste without leaving residue |
| Thermal paste | 8 W/m·K or more, non-conductive | Handles a bare die without pump-out |
| Thermal pads | OEM thickness, ±0.15 mm | Wrong height lifts the cold plate |
| Precision drivers | Torx T5/T6, PH00 | Stripped screws ruin clamping load |
| Torque driver | 0.3 to 0.5 Nm | Even pressure across the whole die |
Some pastes need burn-in. Noctua and Arctic both quote 20 to 50 hours of mixed load before performance peaks, so recheck after a few days. Liquid metal and phase-change pads skip that step entirely.
Test on AC power. If you'd otherwise be dealing with speed you lose on battery, that's a separate fault and it will muddy your results.
Common Mistakes That Cause Higher Temps
Every bad repaste we've seen in aggregate reviews traces back to one of these.
Image source: Wikimedia Commons / Zaereth (CC BY-SA)
- Reusing old pads. They're already compressed. Second-hand pads measure 20 to 30 percent thinner.
- Guessing pad thickness. Half a millimetre too tall and the plate rocks instead of seating.
- Leaving the plastic film on. Peel the protective sheet off the cold plate first. Skip this and nothing else matters.
- Spreading paste by hand. On a bare die, hand-spreading leaves voids. Let the screws do it.
- Torquing in a circle. Cross pattern only, or you bake in the tilt.
- Liquid metal on aluminium. It galls on contact and destroys the cold plate. Copper or nickel-plated only.
- Ignoring a warped heatsink. Check flatness with a steel rule. A bent plate can't be shimmed into working.
- Missing a dead heatpipe. Cracked pipes look intact but hold no charge. An oily film near a seam is the tell.
- Comparing against a moving target. A warmer room, a new fan curve, or a saver profile that won't quit will all skew the delta.
Paste, Liquid Metal, or Phase-Change: Which Should You Use?
Brand matters far less than people think. Category matters enormously, because two of these three options carry real risk.
| Option | Conductivity (W/m·K) | Electrically conductive | Best for |
|---|---|---|---|
| Traditional paste (Arctic MX-6, Noctua NT-H2, Thermalright TF8) | 8 to 13 | No | Most laptops, warranty-safe work |
| Liquid metal (Conductonaut, Liquid Ultra) | 40 to 73 | Yes | Copper or nickel cold plates, 55 W+ chips |
| Phase-change pad (Honeywell PTM7950 or PTM7958) | About 8.5 | No | Set-and-forget builds, no burn-in |
Simple if-and-then calls:
- If you can't confirm the heatsink material, use paste. Aluminium plus liquid metal ends the cold plate.
- If you run a high-watt HX chip and you'll mask the surrounding components properly, liquid metal buys roughly 3 to 10 °C.
- If you plan to repaste once and never again, go phase-change. It won't pump out or dry out.
Compare published numbers, not adjectives. Thermal Grizzly's datasheets list conductivity in W/m·K for every compound as of 2026, alongside density and electrical properties. Hold pad products to the same standard and check the thickness range before you order.
Whichever you choose, expect 3 to 12 °C on a healthy laptop. If numbers move the wrong way, the material was never your problem.
Safety, Warranty, and Compliance
Liquid metal provides the best thermal performance but carries real risk. If the heatsink contains aluminium, liquid metal will gall the surface and ruin cooling forever. Mask every SMD component within two millimetres of the die before application.
Use kapton tape or nail polish on exposed capacitors and resistors. Verify the cold plate material first, copper or nickel-plated aluminium only. Thermal Grizzly's official documentation specifies which substrates work with Conductonaut.
Warranty status varies by region and manufacturer. In the United States, the Magnuson-Moss Warranty Act prevents voiding unless the manufacturer proves the modification caused the damage. European consumer law often implies a two-year repair window.
Before opening the chassis, check the OEM's written policy. Some brands require authorized service for thermal compound replacement. Document every step with photos if you proceed yourself.
Screw torque and sequence matter for compliance with service manual specs. Most gaming laptops call for 0.3 to 0.5 Newton-metres in a cross-pattern tightening sequence. Deviating from this range can warp the cold plate or strip threads.
Always use the correct bit, Torx T5 or T6 for most modern chassis, Phillips #00 for older models. A stripped screw during reassembly creates a new problem that outweighs any thermal gain.
Ambient conditions affect long-term stability. High humidity accelerates corrosion on exposed metal parts. If you live in a tropical climate, inspect the motherboard every six months for discoloration.
IEC 62368-1 is the safety standard for information technology equipment, and compliance means keeping all modifications within rated environmental limits.
1 thought on “Repaste Made Temps Worse? Here’s How to Fix It”
Comments are closed.