You cleaned the fans, wiped the vents, and the temps still spike past 90°C. If you're searching for how to fix gaming laptop still hot after cleaning on a gaming laptop, the answer usually has nothing to do with dust. It comes down to three things: contact, airflow, or software.
In our research, the biggest miss is thermal interface material. Factory paste often pumps out of the die gap within 6 to 12 months of heavy gaming. Manufacturer specs put Intel CPU junction limits at 100°C and NVIDIA GPU hotspots at 83°C to 87°C, so even a few degrees of lost contact is enough to trigger throttling.
Here's how to work out which of the three branches you're on.
How to Fix Gaming Laptop Still Hot After Cleaning on a Gaming Laptop
Check the thermal paste before anything else. Worn paste is the most common cause. Then verify the heatsink screws are evenly tight.
Next, raise fan curves and trim CPU power limits. Finally, lift the rear of the chassis for better intake. Cleaning dust alone rarely fixes real heat.
Why Your Gaming Laptop Still Runs Hot After a Cleaning
Dust is only one variable in a much bigger equation. If you cleared the fins and the temperatures barely moved, the bottleneck sits elsewhere. Our research across teardown logs and owner reports points to three repeat offenders: dried thermal paste, a fan curve that never ramps, and power limits set higher than the chassis can handle.
Cleaning itself also gets misunderstood. Blowing air into the exhaust vents pushes dust deeper into the fin stack instead of out. Real cleaning means pulling the bottom panel and brushing the fins clear, which is covered in a safe cleaning routine.
Then there's the software side. BIOS defaults often cap fan duty at 60% to 70% to keep noise down. That's a design choice, not a fault.
It does mean the hardware runs hotter than it needs to, though. You'll also want to rule out signs of a fan on its way out before blaming the paste.
Ambient temperature skews everything. A room at 32°C gives you roughly 12°C to 15°C less thermal headroom than a 20°C room. Nothing inside the laptop changed, yet the numbers look alarming.
Judge your temps against the room, not against someone else's screenshot.
Where Heat Gets Trapped: What's Actually Inside the Cooling Path
Heat follows a fixed route. It leaves the silicon die, crosses the thermal interface material, hits the cold plate, spreads through heatpipes or a vapor chamber, and dumps into the fin stack. Fans push air across those fins and out the rear or side vents.
Every link in that chain has its own failure mode.
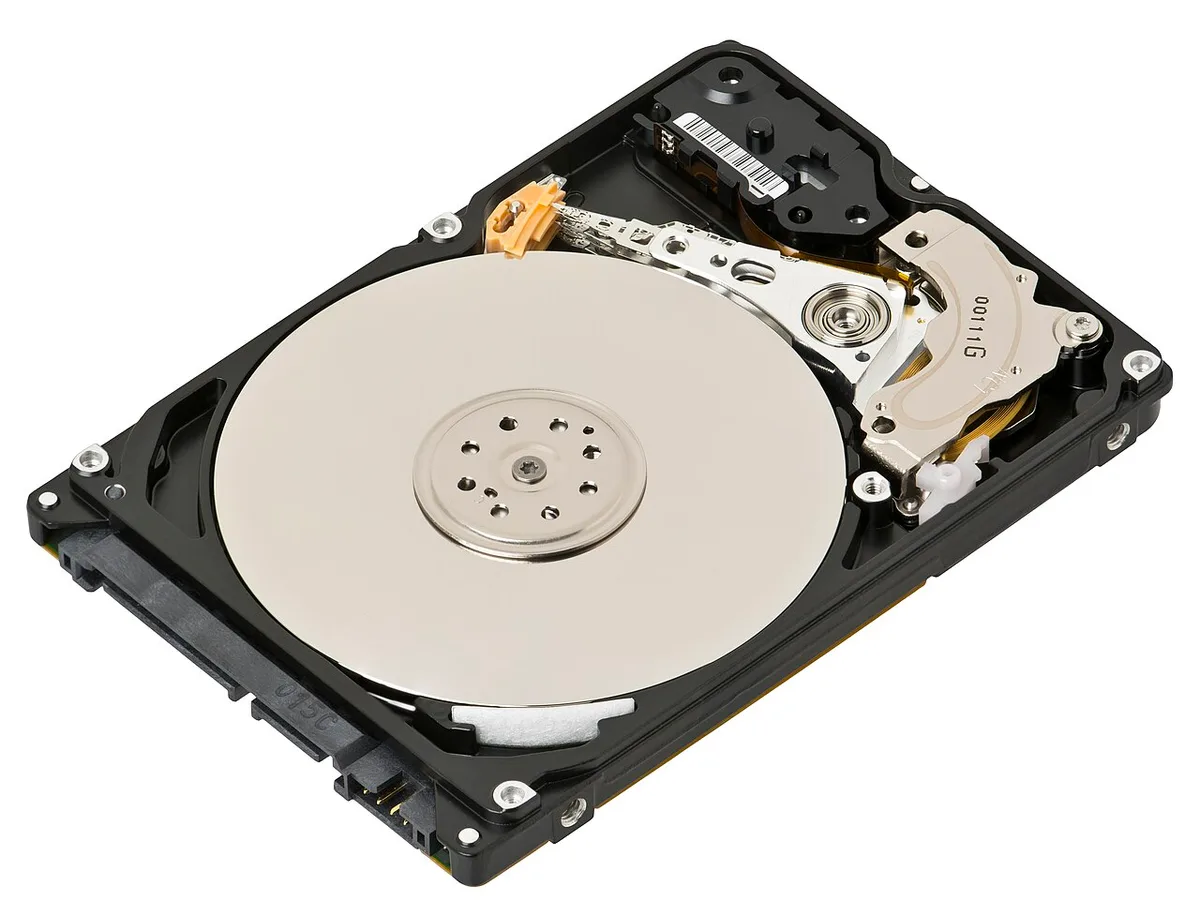
Image source: Wikimedia Commons / Evan-Amos (CC BY-SA)
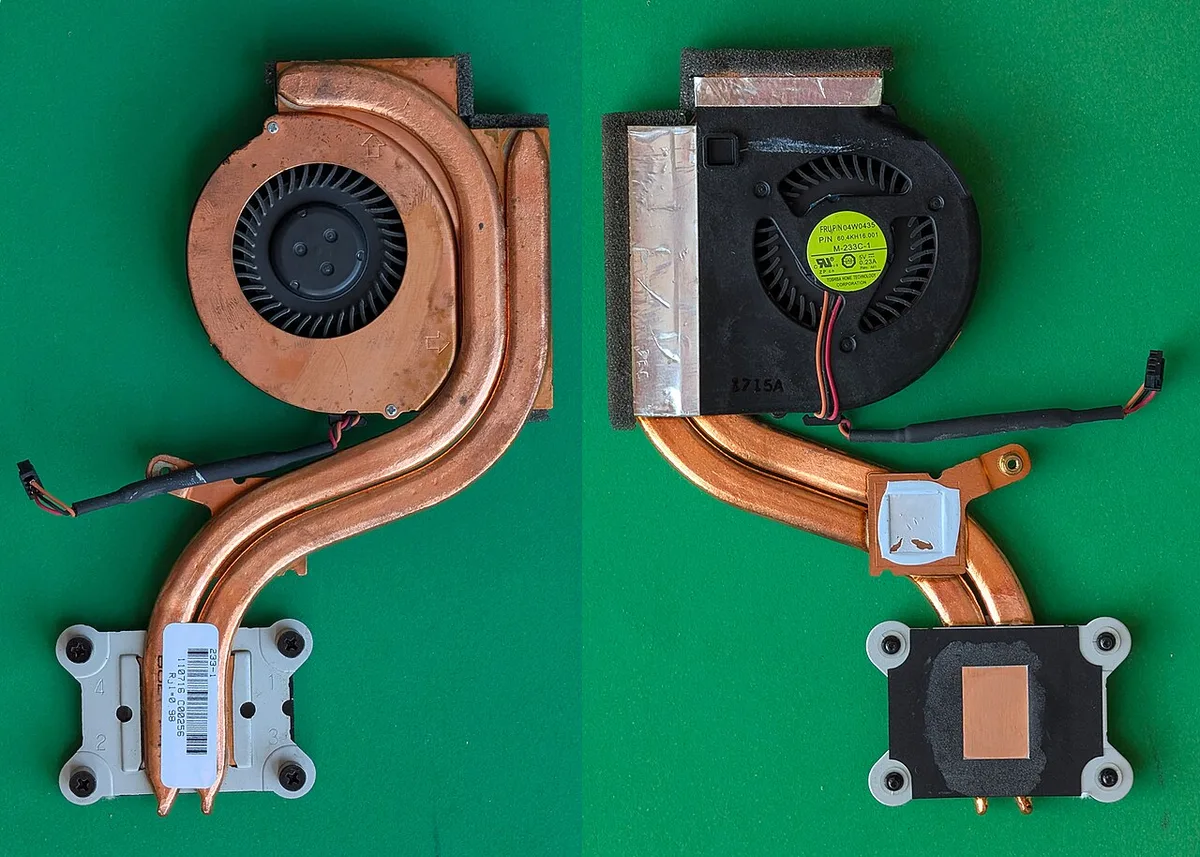
Image source: Wikimedia Commons / Siarhei Besarab (CC BY-SA)
| Component | Typical failure | What you'll see |
|---|---|---|
| Thermal paste | Pump-out or dry-out | Temps spike in seconds |
| Heatsink screws | Uneven torque | One core runs hotter |
| Fin stack | Dust matting | High RPM, weak airflow |
| Thermal pads | Compression set | VRAM and VRM throttle |
| Fan bearing | Wear or wobble | Grinding, low RPM |
Per Intel's processor thermal specifications, junction limits sit near 100°C, and the gap between that and your load temps is your real headroom. A thin-and-light chassis with shared heatpipes has less of it than a thicker machine with separate CPU and GPU pipes. That's a physical ceiling, not a fixable bug.
The Diagnostic Decision Tree: Three Branches, One Fix
Get a baseline before you take anything apart. Install HWiNFO64 and log CPU package temperature, GPU hotspot, and fan RPM during a 10-minute Cinebench R23 or 3DMark Time Spy run. Note the room temperature too.
Without that baseline, you're guessing.
Then follow the branches.
- If temps spike within 10 seconds of load and fans are already near max, you're on Branch A. That's a contact problem.
- If temps climb slowly over 3 to 5 minutes and fans stay below 70%, you're on Branch B. That's software and fan behavior.
- If temps sit 15°C above ambient at idle but stay stable under load, you're on Branch C. That's chassis limits and room conditions.
One more check belongs here. Feel the exhaust air. Weak airflow at high RPM means a blocked fin stack or a dying fan.
Strong airflow with high temps points straight back to the die contact.
If you want the longer view on how frequently this whole cycle should repeat, a full maintenance schedule covers it well.
Branch A: Poor Die Contact, Repaste, Reseat, and Thermal Pads
If load temps jump straight to the limit, contact is your suspect. Dried or pumped-out paste leaves microscopic air gaps. Air conducts heat roughly 100 times worse than decent thermal compound, so those gaps matter more than any fan setting.
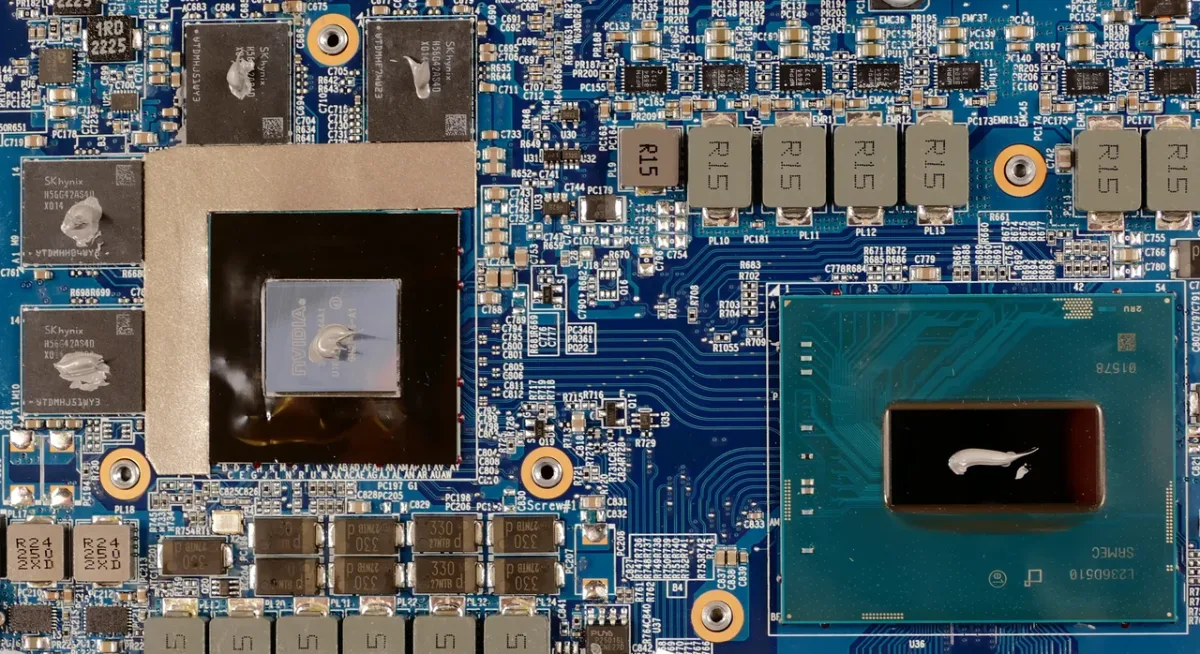
Image source: Wikimedia Commons / System76 (CC BY-SA)
Here's the sequence that works.
- Disconnect the battery before touching the heatsink.
- Remove screws in the numbered order from the service manual, diagonal pattern only.
- Clean both surfaces with 90% isopropyl alcohol and a lint-free cloth.
- Check the die for scratches or uneven wear patterns.
- Apply a thin line or pea-sized dot for bare dies, then mount and torque evenly.
- Replace thermal pads with the exact OEM thickness, usually 0.5mm to 1.5mm.
Liquid metal drops temps further, but it's electrically conductive. One slip onto the PCB can short the board. In our research, first-time liquid metal jobs carry a small but real failure rate, so stick with quality paste unless you're confident.
If you're unsure how often a deep clean is really needed, the cleaning interval question is worth settling first.
Reassemble, then validate with an immediate idle check and a 10-minute load test. A good repaste typically drops core temps 5°C to 15°C. Anything beyond 20°C means the factory application had genuinely failed.
Branch B: Good Contact, Bad Settings, Fan Curves, Power Limits, and Undervolting
If load temps climb slowly while fan RPM sits around 50% to 70%, the hardware is fine. The laptop is simply being told to stay quiet. BIOS defaults on most consumer gaming models cap fan duty to keep acoustics pleasant, and the cost is 8°C to 12°C of extra heat.
Open your OEM control panel first. MSI Center, Armoury Crate, Lenovo Vantage, and Alienware Command Center all expose performance profiles. Switch to the performance or turbo preset and log the same 10-minute test.
If temps drop and noise rises, you've found your answer.
For finer control, tools like FanControl or NoteBook FanControl can override the EC fan curve on supported models. Start with a curve hitting 80% duty at 80°C and 100% by 90°C. Check that the embedded controller actually accepts it, because plenty of laptops ignore software curves entirely.
Then trim the power. Setting maximum processor state to 99% in Windows power options disables Intel Turbo Boost and typically costs little in games. Undervolting goes further.
ThrottleStop handles older Intel chips, Intel XTU handles newer ones where the voltage offset isn't locked, and AMD owners use Curve Optimizer in Ryzen Master.
A stable undervolt commonly saves 5°C to 10°C with zero performance loss. Test stability with OCCT or Prime95 before trusting it. If the laptop crashes under load, back the offset down by 10mV and retest.
Branch C: Nothing's Broken, Ambient Heat, Chassis Limits, and Accessories
If idle temps sit 15°C above the room and load temps hold steady without throttling, your laptop is behaving normally. A 32°C room eats roughly 12°C of thermal headroom compared with a 20°C room. Nothing inside the machine changed, but the numbers look worse.
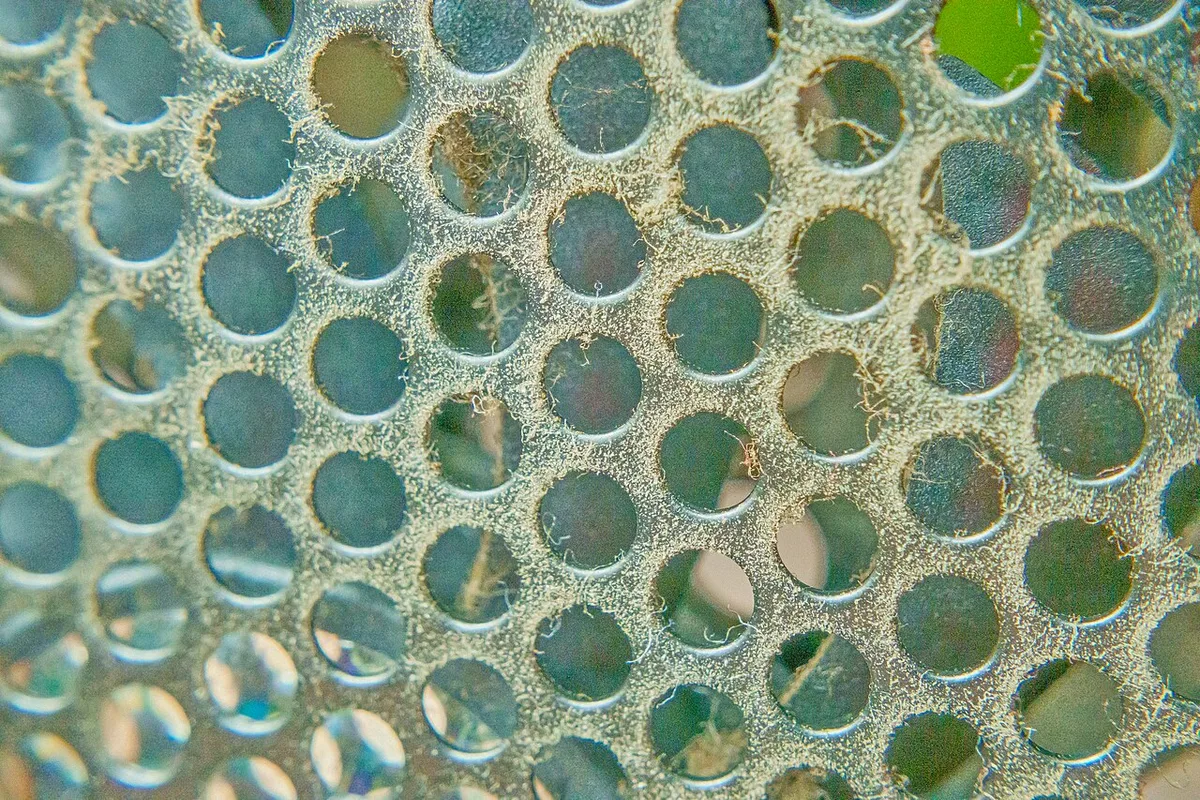
Image source: Wikimedia Commons / Junyu-K (CC BY-SA)
Start with placement. Rear and side exhausts need 10cm to 15cm of clearance, so pushing the chassis against a wall traps hot air. A simple stand that lifts the back edge by 2cm to 4cm often beats a cheap cooling pad, because it feeds the bottom intakes without adding noise.
Cooling pads still help on bottom-intake designs with mesh panels. Look for high static pressure fans rather than RGB. Per UL 62368-1 safety principles, keep any powered accessory on a stable surface with unobstructed vents.
Physical limits come next. Thin-and-light machines with shared heatpipes and Max-Q GPUs simply cannot sustain desktop-class clocks. As of 2026, a 14-inch chassis with a 100W total budget will always run warmer than a 17-inch with separate CPU and GPU pipes.
If you want less heat, cap the frame rate at your display refresh, enable V-Sync, or drop the GPU power target with MSI Afterburner.
Finally, humidity and dust load matter. Pet hair and construction dust clog fins within weeks, and humid air reduces paste life. A quick fin check every three months prevents a repeat of the whole problem.
Mistakes That Make It Hotter and Can Void Your Warranty
Small errors here cost real money. In our research, the most expensive ones come from overtightening heatsink screws, which warps the cold plate and creates uneven die contact. Torque to the manual's spec, usually 0.4Nm to 0.5Nm, in a diagonal pattern.
Then there's paste volume. Too much squashes out onto the board and bridges nothing useful. Too little leaves air gaps.
A thin, even layer across the die is the target, not a heaped blob.
Skip the compressed-air-into-the-vents trick. It drives dust deeper into the fin stack and can spin the fan past its rated RPM, damaging the bearing. Short bursts at an angle with the fan held still are the safer approach.
Watch the pads, too. Using thicker thermal pads than the originals lifts the heatsink off the die and wrecks contact. Match the OEM thickness per component, and never stack pads to fake a size.
Finally, warranty. Dell, HP, and Lenovo often void coverage once heatsink screws come out, while MSI and Gigabyte are looser. Check your sticker and terms before you start.
If the laptop is still under coverage and hitting thermal shutdowns, an RMA is the cheaper path. And if any of this feels like a stretch, budget $80 to $150 an hour for a repair shop rather than risk the board.