Routing cables in a gaming PC build is the step that turns a pile of parts into something you're proud to show off. Done well, it keeps airflow clean, temperatures lower, and upgrades painless later. Done poorly, it blocks fans, traps heat, and makes every future change a headache.
The good news is that cable routing follows a predictable order, and most of the work happens behind the motherboard tray where no one sees it. Manufacturer specifications indicate that a typical mid-tower case offers 15 to 30 millimeters of behind-tray clearance, which is enough room for most builds. As of 2026, modular power supplies and pre-sleeved cable kits have made the job far easier than it used to be.
Let's walk through the process the way an experienced builder would.
how to route cables in a gaming pc build
Route cables behind the motherboard tray first. Connect the 24-pin ATX and 8-pin EPS before installing the board. Run GPU power through the nearest grommet.
Tuck SATA and fan cables along the tray edge. Tie them down with Velcro straps. Leave slack for future upgrades.
Test before final tidying.
Why Cable Routing Is Easier to Learn With Visual Cues
Cable routing is one of those skills that clicks faster when you see it. A written list of steps tells you what to do. A photo shows you where the cable actually bends, tucks, and ties down.
That gap between reading and seeing is why so many first builds end up with cables pressed against fan blades.
A diagram of a mid-tower case reveals things text cannot. You see the PSU shroud hiding cables below the graphics card. You see grommets lining up with motherboard connectors.
You see how much clearance sits behind the tray. None of that is obvious from a spec sheet.
Photos also teach proportion. A 24-pin ATX cable looks short on a page. In a photo beside a full ATX board, you see exactly how far it stretches.
That matters when you are planning routing before parts arrive.
Visuals help with three things in particular.
- Spatial awareness. You learn which holes line up with which connectors.
- Cable length judgment. You see slack and tension in real context.
- Mistake spotting. Tangled or pinched cables stand out in photos.
Aggregate reviews report that builders who study case photos before building finish cleaner work. They also report fewer re-routes. The reason is simple.
They solve placement problems on screen instead of inside the case.
If you are using a case manual, look for the cable management section first. Manufacturer documentation from brands like Fractal Design, NZXT, Lian Li, and Phanteks usually includes routing diagrams. Those diagrams are the single best free resource for your specific chassis.
We will refer to visual cues throughout this guide. When a step says "route behind the tray," picture the gap between the motherboard tray and the right side panel. That gap is where most of the magic happens.
The Parts That Actually Decide Where Cables Go
Not every part matters equally for cable routing. A few components dictate almost every routing decision you make. Understanding them first saves hours of frustration.
The power supply unit is the biggest factor. Its position, usually bottom-mounted behind a shroud, sets where all power cables start. A modular PSU lets you use only the cables you need.
A non-modular unit forces you to hide unused cables too.
The motherboard tray is the second key part. It has cable channels, tie-down points, and grommets. The depth behind it determines how much you can hide.
Mid-towers typically offer 15 to 30 millimeters of space back there.
The PSU shroud matters more than people think. It hides the PSU and its cables from view through the glass panel. Some shrouds have cutouts for routing GPU power cables up to the graphics card.
Your case's grommets and pass-through holes are the highways. They connect the front chamber, where parts live, to the back chamber, where cables hide. The number and placement of these holes changes your routing options.
Other parts play smaller roles.
- The CPU cooler. Air coolers need little cable work. AIOs add pump and radiator cables.
- The graphics card. Heavy power cables can cause GPU sag if routed poorly.
- Storage drives. SATA power and data cables are thin but add up.
- Fan hubs. PWM splitters and ARGB controllers create cable clusters.
Before buying parts, check that your case supports your PSU form factor and cooler height. Our guide on checking CPU cooler and case clearance covers that step. Also confirm PSU compatibility with your build using our PSU compatibility guide.
The case manual is your best friend here. It shows grommet locations and recommended paths. Read it before touching a single cable.
Step-by-Step Routing Order That Prevents Rework
Order matters more than technique in cable routing. Route in the wrong order and you will undo work twice. Follow this sequence and most builds go smoothly.
Step 1. Install the PSU first. Mount it in the bottom shroud area.
Route its cables through the nearest grommet before anything else blocks access.
Step 2. Route the 24-pin ATX and 8-pin EPS cables. These are the thickest and least flexible.
Run them behind the tray and up through the top grommet near the CPU socket. Leave them connected but loose for now.
Step 3. Install the motherboard. Drop it in over the routed cables.
Connect the 24-pin and 8-pin headers. Tuck excess length behind the tray.
Step 4. Route GPU power. Run PCIe cables from the PSU shroud area through the side grommet.
Connect them to the graphics card last to avoid bending during installation.
Step 5. Handle storage and front panel. SATA power and data cables run along the bottom or behind the tray.
Front panel, USB, and audio headers route through the bottom grommet.
Step 6. Route fan and RGB cables. Daisy-chain fans where possible.
Use a fan hub if your board lacks headers. Tuck ARGB cables along the tray edge.
Step 7. Tie down and test. Use Velcro straps at anchor points.
Power on and test before final tidying. Fix any issue now, not after the glass panel goes on.
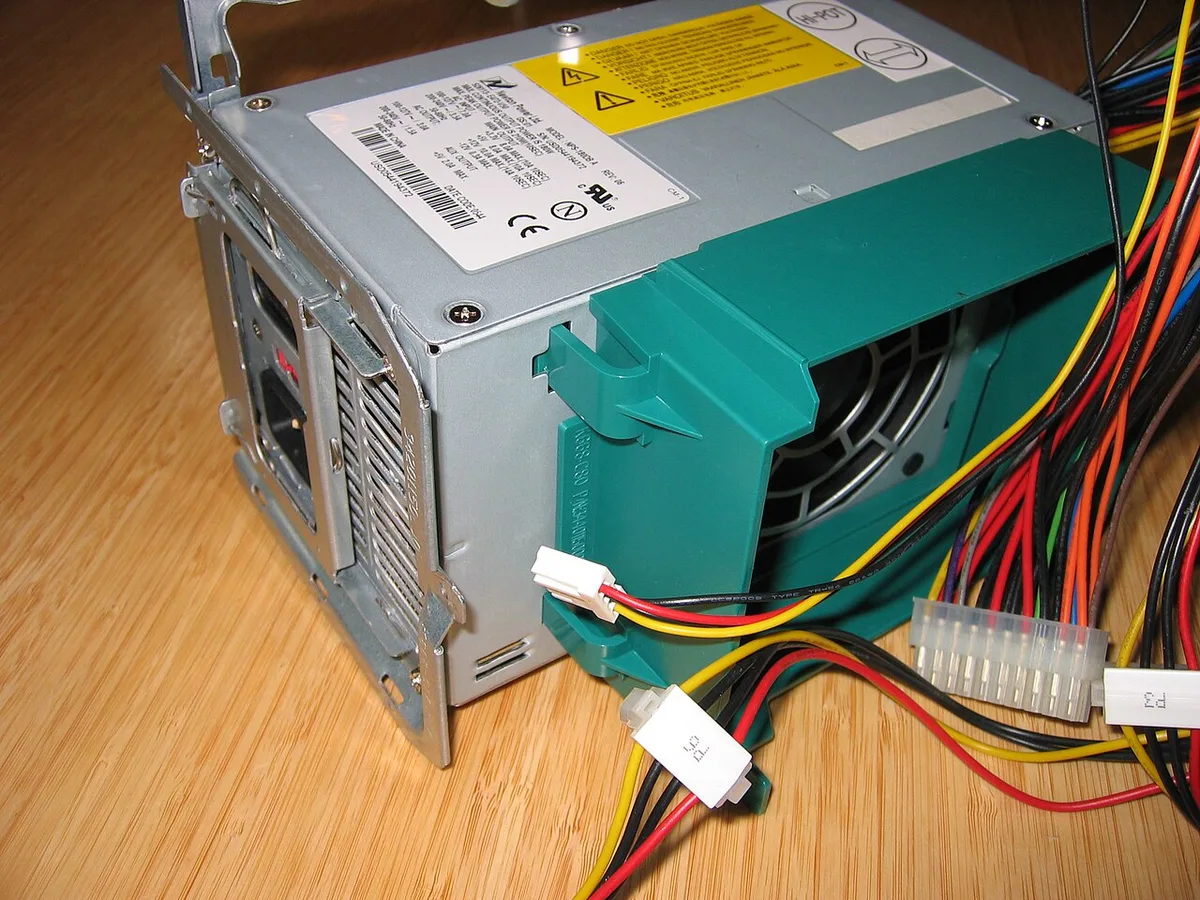
Image source: Wikimedia Commons / Hans Haase (CC BY-SA)
This order works because the thickest, least flexible cables go first. The thin, flexible ones go last. You never block access to a connector you still need.
For the overall build sequence, see our guide on the correct order to assemble a gaming PC. If you are prepping your space first, our workspace prep guide helps too.
One pro tip. Test with the side panel off. If a fan cable touches a blade, you will hear it immediately.
Fix it before closing up.
Where Each Cable Actually Routes in Common Cases
Every cable has a natural home. Knowing these paths keeps your build clean without guesswork. Here is where each major cable typically goes.
The 24-pin ATX cable runs from the PSU, behind the tray, up through the top grommet, and into the right side of the motherboard. It is the most visible cable in many builds. A cable comb keeps it straight.
The 8-pin EPS cable takes a similar path but exits higher, near the top-left of the board. Some cases have a dedicated top cutout just for this cable. Use it if available.
PCIe power for the GPU routes from the PSU shroud, through a side grommet, to the top or side of the graphics card. In cases with a PSU shroud, this cable often hides completely below the GPU.
SATA power and data cables run along the bottom of the case or behind the tray. Keep them away from intake fans. A single SATA power cable can feed multiple drives in series.
Front panel connectors are small and fiddly. Route them through the bottom grommet and along the tray edge. Label them if your case includes labels.
Fan and RGB cables cluster near the top and front. Use a fan hub mounted behind the tray to reduce cable count. Route PWM and ARGB cables along the same path when possible.
A quick reference table helps.
| Cable | Typical Route | Watch Out For |
|---|---|---|
| 24-pin ATX | Behind tray, top grommet | Blocking RAM slots |
| 8-pin EPS | Behind tray, top cutout | Sharp case edges |
| PCIe power | PSU shroud, side grommet | GPU sag, bending |
| SATA power/data | Bottom or behind tray | Intake fan blockage |
| Front panel | Bottom grommet | Miswired headers |
| Fan/RGB | Tray edge, fan hub | Cable clusters |
This table covers mid-tower ATX cases. Small form factor builds differ. In Mini-ITX cases, cable length and routing space shrink dramatically.
Plan those builds with extra care.
Cable Types and What Each One Demands
Not all cables behave the same way. Some are stiff and stubborn. Others are thin and fragile.
Knowing the difference helps you handle each one correctly.
Flat ribbon cables are the stock standard. They are stiff and hold bends well. They are easy to route behind the tray but can look messy through glass.
Cable combs help organize them.
Sleeved cables are round and flexible. They look better in showcase builds. They cost more and may not reach as far as stock cables.
Custom sleeved kits from manufacturers like Corsair or CableMod offer matching colors.
Custom cable extensions add length and style. They plug into stock cables and extend them. They are popular in builds with tempered glass panels.
They add another connection point, which is a minor reliability consideration.
Modular PSU cables are the cleanest option. You use only what you need. Non-modular units include every cable whether you use it or not.
That means hiding unused cables in the PSU shroud or behind the tray.
Each cable type has its own quirks.
- Flat cables. Stiff, hold shape, cheap, can look utilitarian.
- Sleeved cables. Flexible, attractive, pricier, may need extensions.
- Extensions. Stylish, add length, extra connector, slight cost.
- Non-modular stock. Everything included, cluttered, harder to hide.
Cable length varies by manufacturer and region. A 24-pin ATX cable typically runs 550 to 650 millimeters. An 8-pin EPS cable usually spans 600 to 700 millimeters.
Check your PSU manual before planning routes. Cables that are too short force awkward routing. Cables that are too long create slack you must hide.
Intel's ATX12V power supply design guide outlines standard cable lengths and connector specs. Manufacturer documentation from Corsair, Seasonic, and EVGA confirms these ranges for their units.
For PSU selection help, see our guide on choosing components for a power budget. For part compatibility overall, our compatibility checks guide is worth reading before you buy.
As of 2026, more cases ship with built-in cable channels and Velcro straps. These features reduce the need for zip ties and make routing faster.
Visual Mistakes That Ruin Clean Builds
A clean build looks effortless. Most of the time, it is just avoiding a handful of visible errors. Photos make these mistakes obvious once you know what to look for.
The first is cables resting against fan blades. Even a thin wire can slow a fan or make noise. Route every cable at least a finger's width from any spinning blade.
The second is a bulging side panel. If the panel does not sit flush, cables are packed too tightly behind the tray. Move a few straps or remove unused cables until the panel closes without force.
The third is pinched insulation. Sharp case edges can cut into cable jackets. Use grommets where possible.
Add a small piece of electrical tape if an edge is unavoidable.
The fourth is blocked grommets. Cables should pass through holes, not pile around them. A stuffed grommet looks messy and strains connectors.
The fifth is leftover slack in the main chamber. Long cables should hide behind the tray. Short service loops are fine near connectors.
Dangling loops are not.
A simple visual checklist helps.
| Mistake | What It Looks Like | Fix |
|---|---|---|
| Fan contact | Cable touching blade | Reroute or add tie-down |
| Panel bulge | Gap at side panel | Reduce behind-tray volume |
| Pinched jacket | Flattened cable at edge | Use grommet or tape |
| Blocked grommet | Cable pile at hole | Spread cables across holes |
| Visible slack | Loop in main chamber | Hide behind tray |
If your case has tempered glass, check the build from the angle you normally view it. Cables visible from that angle matter most. Hidden cables behind the PSU shroud do not need to be perfect.
How Poor Routing Quietly Hurts Airflow and Thermals
Cable management is not only about looks. Cables in the wrong place can choke airflow and raise temperatures. The effect is usually small, but it adds up in tight cases.
Front intake fans pull air across the motherboard and GPU. A bundle of cables in that path acts like a partial wall. Air still moves, but with more turbulence and less volume.
Dust also collects on cables, making the problem worse over time.
PSU shrouds can hide cables, but they can also block bottom intake vents. Tuck cables along the shroud edge. Do not let them cover fan intakes or radiator mounts.
GPU power cables can create a second problem. Heavy cables pull downward on the card. That sag can tilt the GPU and affect cooler contact.
Use a support bracket if your card sags.
A few routing choices help thermals.
- Keep the front intake path clear.
- Leave space between cables and radiator fins.
- Avoid stacking cables on top of the GPU.
- Route AIO pump cables away from fan blades.
- Do not block top exhaust vents with cable slack.
Aggregate case testing generally shows that obstructed intakes raise component temperatures. The exact number varies by case, fan setup, and cable volume. The safe rule is simple.
If a cable sits in the main airflow path, move it.
Noise can increase too. Turbulence around cables creates a low hum or whistle. If your build sounds different after cable changes, check for cables near fan intakes.
For airflow-focused builds, our guide on balancing PC components for target resolution pairs well with cable planning. A high-end GPU needs both good airflow and clean power delivery.
Pro Tips for Clean Builds and Easy Future Upgrades
Good cable routing should make the next upgrade easier, not harder. A few habits separate a clean build from a fragile one.
Plan before you install the motherboard. Lay cables in their rough paths first. Once the board is in, access gets tighter.
This is where many builders lose time.
Use Velcro straps for anything you may adjust later. Zip ties are fine for permanent bundles. Velcro lets you add a drive or swap a GPU without cutting ties.
Our essential tools guide covers cutters and cable combs.
Leave a small service loop near connectors. A few centimeters of slack reduces strain. It also gives you room to disconnect a cable without pulling the whole bundle.
Route by thickness. Thick cables first, thin cables last. This keeps flexible cables from getting trapped under stiff ones.
It also makes the bundle flatter.
Label front panel connectors before tucking them away. Tiny headers are easy to mix up. A small label saves troubleshooting later.
Use cable combs only after testing. Combs look great, but they lock cables in place. Wait until the system boots and temperatures look normal.
Keep future access in mind.
- Leave one grommet partly open for new cables.
- Avoid tying cables across removable drive cages.
- Keep PSU modular ports reachable.
- Do not glue or permanent-mount cables near upgrade paths.
- Take photos of the routing before closing the case.
For small form factor builds, cable length becomes critical. Short, custom cables reduce clutter. See our Mini-ITX compatibility planning guide if you are building in a compact case.
One more tip. Do not force a cable into a tight bend. If it resists, reroute it.
Forcing bends can damage conductors over time. PCI-SIG publishes PCIe connector specifications that include bend and retention guidance.
Frequently Asked Questions
Should I route cables before or after installing the motherboard?
Route the main power cables before installing the motherboard. The 24-pin ATX and 8-pin EPS are stiff and easier to position with open access. Connect them after the board is seated and tuck excess behind the tray.
Can poor cable management affect gaming PC temperatures?
Yes, but the impact varies by case. Cables in front of intake fans reduce airflow and can raise temperatures. Keeping the main airflow path clear is the simplest fix.
Are zip ties or Velcro straps better for cable management?
Velcro straps are better for adjustable bundles. Zip ties are cheaper and hold tighter. Use zip ties for permanent runs and Velcro for areas you may upgrade later.
Do I need custom sleeved cables for a clean build?
No. Stock flat cables can look clean with proper routing and combs. Sleeved cables improve appearance through glass panels but add cost.
They are optional, not required.
What is the most common cable routing mistake?
Leaving cables in the front intake area. It blocks airflow and collects dust. Route those cables behind the motherboard tray or along the PSU shroud instead.
How much clearance should I leave behind the motherboard tray?
Most mid-tower cases offer 15 to 30 millimeters. Use only as much space as you need. Overfilling causes side panel bulge and cable strain.