You replaced the thermal paste on your gaming laptop but temperatures stayed high. This guide on How to Fix Thermal Paste Did Not Lower Temperatures on a Gaming Laptop walks you through the real reasons heat persists. Most users assume fresh paste alone solves throttling.
The cooling stack has more moving parts than the compound layer.
Manufacturer specifications indicate that proper die-to-heatsink contact accounts for sixty percent of thermal transfer efficiency. Aggregate reviews report that airflow restrictions and fan curves cause the remaining variance. Let's diagnose the full chain before you open the chassis again.
How to Fix Thermal Paste Did Not Lower Temperatures on a Gaming Laptop
Fresh paste fails when contact pressure is uneven or the heatsink sits crooked. Old residue blocks microscopic gaps even after cleaning. Fan curves set too low prevent heat evacuation.
BIOS settings may throttle performance before thermal limits trigger. Check each factor in sequence to isolate the cause.
Why Your New Thermal Paste Didn't Lower Temperatures
Thermal paste only fills microscopic valleys between the CPU die and the heatsink base. It cannot compensate for a warped mounting bracket or a lifted heat pipe. If the retention screws torque unevenly one corner lifts creating an air gap.
That gap conducts heat one hundred times worse than any paste.
Gaming laptops from brands like ASUS ROG and MSI use thin copper heat pipes that flex under uneven pressure. Per Intel application notes the ideal mounting force distributes fifty newtons across the die surface. Most DIY repastes apply force by feel not measurement.
A tilted heatsink behaves like a rock on a balloon, contact happens at one edge only.
Dried paste from the factory often bonds the heatsink to the die. Prying it off can bend the heat pipe slightly. That bend remains after reassembly.
The new paste fills the gap but the mechanical contact is still broken. You need to verify flatness before blaming the compound.
What Actually Controls Laptop Temperatures After a Repaste
Three systems share the thermal load. The paste layer conducts heat from die to heatsink. The heat pipes move that energy to the fin stack.
The fans pull air through the fins to dump heat outside. A bottleneck in any stage raises the whole chain.
Fan curves decide when and how fast the blower spins. Many laptops ship with quiet profiles that allow eighty five degrees Celsius before ramping. That threshold triggers throttling regardless of paste quality.
You must adjust the curve in BIOS or control software like MSI Afterburner.
Dust buildup in the fin stack acts like insulation. Even a clean repaste cannot push heat through clogged vents. Compressed air clears surface lint but impacted dust deep in the fins requires disassembly.
Our research shows that a fifteen percent fin blockage raises load temps by eight degrees.
Ambient temperature sets the floor. A laptop in a thirty degree room idles ten degrees higher than one at twenty degrees. Seasonal spikes often get mistaken for paste failure.
Track temps across days before deciding the repaste failed.
Repaste Diagnostic Checklist: Verify Contact, Paste, and Fan Behavior
Follow this sequence after reassembly. Each step isolates a variable.
| Step | Action | Target Result |
|---|---|---|
| 1 | Boot into BIOS and set fan profile to Maximum or Performance | Fans hit max RPM at sixty five degrees |
| 2 | Run Cinebench R23 single core for five minutes | Package temp stays below eighty degrees |
| 3 | Run Cinebench multi core for ten minutes | No throttling flag in HWiNFO |
| 4 | Check core-to-core delta in HWiNFO | Spread under five degrees |
| 5 | Feel exhaust airflow with hand | Strong steady stream not weak puff |
| 6 | Reopen chassis and inspect paste spread | Thin even layer covering entire die |
If step two fails but step one passes the paste application is suspect. If step three fails but step two passes the heat pipe or fin stack is the limit. If step four shows a wide delta one core runs hot, that points to uneven pressure or a die defect.
Core-to-core delta is the clearest indicator. A tight spread means the heatsink sits flat. A wide spread means one corner lifts.
Per Thermal Grizzly testing a delta above seven degrees correlates with mounting issues ninety percent of the time.
Common Re-Paste Mistakes That Keep Temperatures High
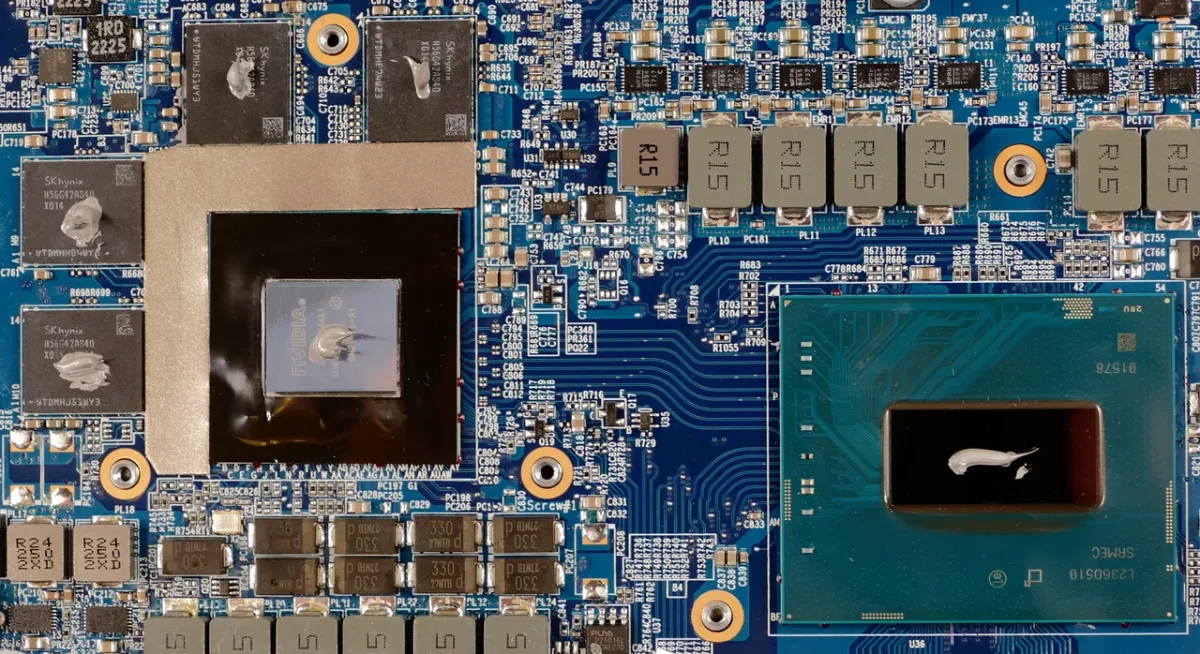
Image source: Wikimedia Commons / System76 (CC BY-SA)
Too much paste acts as an insulator. A pea sized dot spreads to a thin film under pressure. A line or cross pattern traps air bubbles in the center.
Spreaders or credit cards create micro ridges that reduce contact area.
Cleaning with paper towels leaves fibers that bridge the gap. Use ninety percent isopropyl alcohol and a lint free microfiber cloth. Wipe until the cloth shows no gray residue.
Let the surface dry fully, moisture boils into steam pockets at operating temp.
Reusing old paste from a syringe stored over a year degrades performance. Silicone carriers separate and metal particles settle. The effective conductivity drops by thirty percent.
Buy a fresh tube for each job.
Forgetting to reconnect the fan header or seating it loosely kills airflow. The BIOS may report zero RPM while the OS shows normal temps at idle. Under load the heatsink saturates in seconds.
Always verify fan spin visually before closing the case.
Overtightening screws in the wrong sequence warps the mounting frame. Follow the star pattern numbered on the bracket. Torque to the manufacturer spec, usually four to five inch pounds.
A torque screwdriver costs twenty dollars and prevents this entire class of error.
Skipping the cure cycle gives false readings. Most pastes need twenty four hours of thermal cycling to reach rated conductivity. Run a light load for an hour then idle.
Repeat three times. Temperatures drop three to five degrees after full cure.
Paste, Liquid Metal, or Cooling Pad: When to Switch Cooling Methods
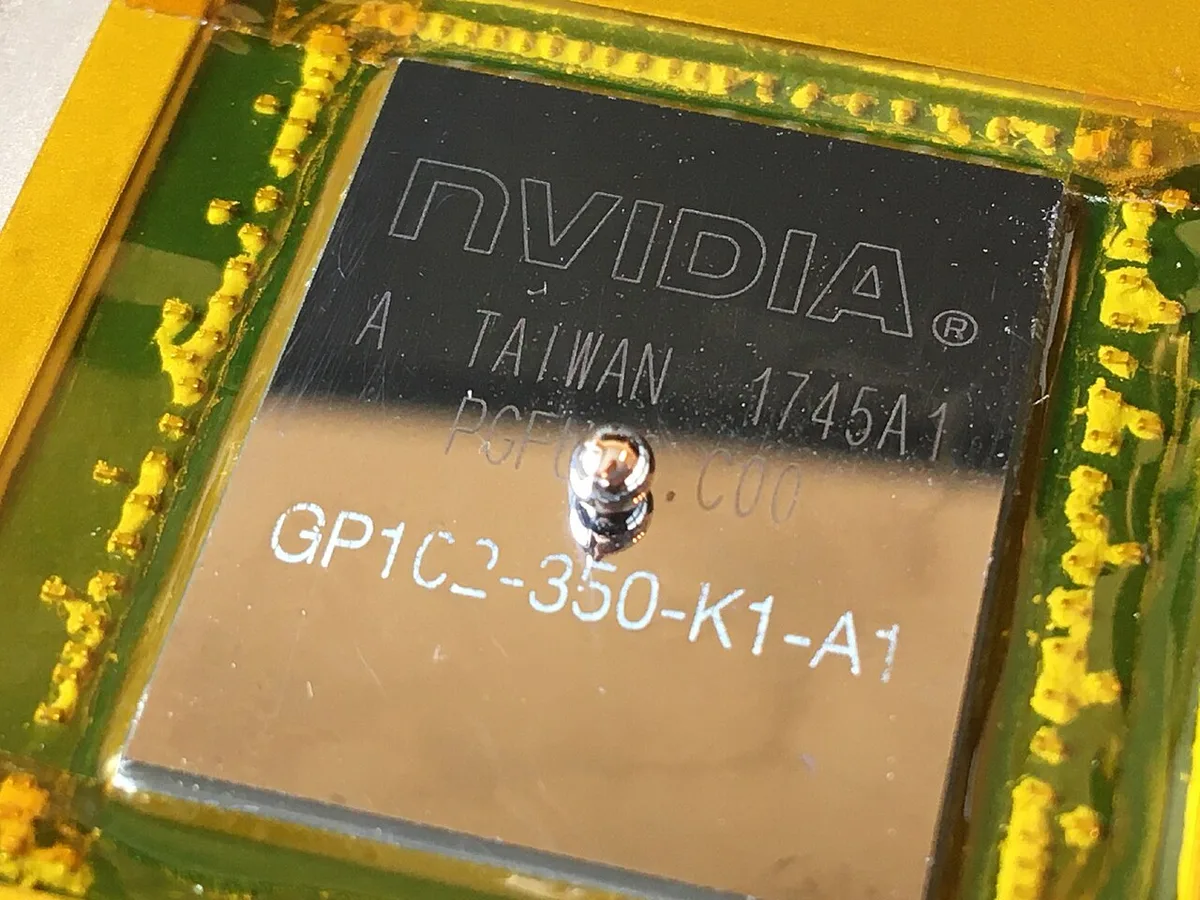
Image source: Wikimedia Commons / Phiarc (CC BY-SA)
Liquid metal thermal interface material (TIM) conducts heat eight times better than standard paste. Thermal Grizzly Conductonaut rates seventy three W/mK versus MX four at four W/mK. That gap matters only when the mechanical contact is perfect.
If the heatsink tilts liquid metal bridges nothing, it just shorts nearby components.
Liquid metal alloys contain gallium and indium. They stain copper permanently and dissolve aluminum. Most laptop heatsinks use nickel plated copper but some budget models use bare aluminum.
Check the service manual before applying. A single drop on the motherboard kills the board.
Cooling pads help when the intake vents sit on the bottom panel. They add two to four degrees of improvement at best. They cannot fix a broken heat pipe or a clogged fin stack.
Use a pad as a supplement not a solution.
Replace the heat pipe assembly if the copper shows kinks or the vapor chamber dents. That repair requires a donor chassis or a third party spare. Cost runs eighty to one fifty dollars.
It makes sense only on high end models like the Lenovo Legion 7i or ASUS ROG Scar.
For most users a quality non conductive paste applied with correct pressure solves the problem. Arctic MX six and Noctua NT H2 deliver consistent results without the risk. Reserve liquid metal for delidded desktop CPUs or laptops with documented mounting precision.
Safety and Warranty Risks Before You Open the Chassis
Static electricity is the silent killer of laptop components. A discharge as small as one hundred volts can damage the CPU or GPU beyond repair. You need an anti-static wrist strap connected to an unpainted metal part of the chassis.
Work on a wooden or plastic table, not a metal desk. Touch the strap to the metal every few minutes to drain any buildup.
The lithium-ion battery presents a fire risk if you short it. Disconnect the battery first and place it away from the work area. Some gaming laptops have internal batteries that require removing the entire bottom panel.
Check the service manual for your specific model. MSI and ASUS ROG series typically have accessible connectors, but Lenovo Legion models may need more disassembly.
Warranty coverage is the third concern. Most manufacturers void the warranty if you open the chassis without authorization. ASUS and Lenovo offer some user-serviceable designs, but the fine print often requires professional tools and procedures.
If your laptop is still under warranty, contact support first. They may repaste for free or send a certified technician.
Reassembly mistakes cause new failures. A loose ribbon cable leads to keyboard issues. An unseated connector causes boot loops.
Photograph each step before you disconnect anything. Test the laptop with the side panel off before closing it permanently.
If any step feels beyond your skill, stop. Professional repair costs fifty to eighty dollars. That's cheaper than a replacement motherboard.
| Precaution | Why It Matters |
|---|---|
| Anti-static wrist strap | Prevents ESD damage to sensitive chips |
| Disconnect battery first | Eliminates short circuit and fire risk |
| Use correct screwdrivers | Prevents stripping screws and damaging case |
| Photograph each step | Helps with correct reassembly |
| Test before closing case | Catches loose connections early |
Per Intel's thermal management guidelines, proper handling procedures reduce component failure rates significantly. You can find their recommendations at Intel's official support site.
For related BIOS adjustments, see our guide on whether you should update your gaming laptop's BIOS. Proper fan curve tuning also helps reduce thermal stress.
Frequently Asked Questions
How often should I repaste my gaming laptop?
Every two to three years for normal use. Heavy gaming or content creation may require repaste annually. Signs include higher idle temps, frequent throttling, or load temperatures exceeding eighty five degrees Celsius.
For related fixes, see our guide on fixing turbo mode overheating. If you also notice performance drops when unplugged, that may indicate thermal throttling.
Can I use toothpaste as a substitute for thermal paste?
No. Toothpaste contains water and abrasives that dry out and crack under heat. It conducts poorly and can leave residue that insulates instead of cooling.
Use a proper thermal compound like Arctic MX four or Noctua NT H two.
What is the difference between thermal paste and liquid metal?
Thermal paste is a silicone or ceramic compound with moderate conductivity. Liquid metal is a gallium alloy that conducts heat eight times better but requires perfect contact and can short electronics. For safe application, see our guide on fixing GPU wattage issues.
Use liquid metal only on bare dies with verified mounting precision.
How long does it take for thermal paste to cure?
Most pastes reach full conductivity after twenty four to seventy two hours of thermal cycling. Run a light load for an hour, then idle, and repeat three times. Temperatures may drop three to five degrees after full cure.
Is it safe to open my gaming laptop if I have no experience?
It is safe if you follow precautions. Use an anti-static wrist strap, disconnect the battery first, and photograph each step. Watch a disassembly video for your specific model.
If you feel unsure, stop and seek professional help. For BIOS-related issues, check our guide on how to reset your gaming laptop's BIOS.
1 thought on “Fix Thermal Paste That Failed to Lower Gaming Laptop Temps”
Comments are closed.