You just finished building your gaming PC, and now you're wondering what should be configured in bios after building a gaming pc before you install Windows. The short answer is not everything. You need a handful of specific settings, and the right ones depend on your motherboard, RAM, and storage.
Getting this right saves you from slow memory, boot errors, and Windows 11 install headaches.
Manufacturer specifications indicate that most gaming boards ship with conservative defaults that leave performance on the table. A memory kit rated for 6000 MT/s often boots at 4800 MT/s until you enable its profile. As of 2026, Windows 11 still requires TPM 2.0 and Secure Boot, which many boards don't enable by default.
Let's walk through the settings that actually matter and the order to change them.
what should be configured in bios after building a gaming pc
Enable your RAM's XMP or EXPO profile first. Set boot priority to your Windows installer USB. Turn on TPM 2.0 and Secure Boot for Windows 11.
Adjust fan curves to match your cooler. Enable Resizable BAR if your GPU supports it. Save, exit, and verify everything loads correctly.
What Actually Needs Configuring After a Gaming PC Build
Not every BIOS menu needs touching. In our research, most first builds only need five or six changes. The rest should stay at defaults unless you have a specific reason.
Start with memory. Most DDR5 and DDR4 kits ship with an XMP (Extreme Memory Profile) or EXPO (Extended Profiles for Overclocking) profile stored on the DIMM itself. Motherboard defaults often ignore it and run at JEDEC base speed.
That means a 6000 MT/s kit may boot at 4800 MT/s until you select Profile 1. If you're unsure whether your kit is on the board's approved list, check the motherboard QVL memory list before you enable anything.
Next comes boot order. Your system needs to know which drive to start from. If you're installing Windows from USB, that drive must sit first in the priority list.
After installation, move your main NVMe SSD to the top spot. Our guide on installing an M.2 NVMe SSD covers slot selection if you haven't done that yet.
Then check Windows 11 requirements. Per Microsoft's published specifications, TPM 2.0 and Secure Boot need to be active before the installer will proceed. Many boards ship with these off, especially if CSM (Compatibility Support Module) is enabled.
Fan curves come fourth. Default presets keep things safe but loud. A custom curve based on your CPU cooler and case airflow keeps temperatures in check without screaming.
Finally, consider Resizable BAR (called Smart Access Memory on AMD platforms). It lets your CPU access all GPU VRAM at once. Not every combo supports it, but when it does, games can see small frame rate gains.
Everything else, like CPU voltage offsets or PCIe lane splits, is optional tuning. Leave it alone until you understand the defaults.
Which BIOS Settings Depend on Your Hardware
The right settings change based on what you installed. A build with a Ryzen 7 7800X3D and 32GB of DDR5 needs different choices than one with an Intel Core i5-13400 and 16GB of DDR4.
Memory is the biggest variable. XMP and EXPO profiles are tuned for specific kits. Running a profile your board doesn't support can cause boot failures.
Aggregate reviews report that most stability issues come from enabling a profile on unsupported hardware. Check your motherboard's QVL (Qualified Vendors List) before turning anything on.
CPU boost behavior differs by platform. AMD boards use PBO (Precision Boost Overdrive) while Intel boards use Turbo Boost and power limits. Some builders leave these at auto, which is fine.
Others push for more performance, which raises heat and power draw.
Storage layout matters too. If you installed two M.2 drives, your board may disable certain SATA ports or split PCIe lanes. Manufacturer specifications indicate that some boards share bandwidth between the second M.2 slot and a PCIe x16 slot.
You won't lose data, but you might lose speed on one device.
Cooling setup changes fan curve choices. A 240mm AIO needs different RPM targets than a tower air cooler. If you followed our guide on installing a CPU cooler, you already know your cooler's rated TDP.
Use that number to set safe thermal limits.
GPU compatibility is usually automatic, but older boards may need Above 4G Decoding or Resizable BAR toggles. If you're pairing a newer card with an older platform, our article on older motherboards and newer graphics cards explains what to expect.
Decision Branches for Memory, Boot, and Windows 11 Compatibility
This is where the if/then logic kicks in. Each branch depends on your situation.
Memory branch:
- If your kit is on the QVL and has an XMP/EXPO profile, enable Profile 1. Check that the speed and voltage match the label on the box.
- If it's not on the QVL, leave it at default speed. You can try manual tuning later, but only after stress testing.
- If you see boot loops after enabling a profile, clear CMOS and try Profile 2 or manual timings.
Boot branch:
- If you're installing Windows from USB, set that drive first in boot priority.
- If Windows is already installed, set your NVMe SSD first.
- If you can't enter BIOS because Fast Boot is on, use the motherboard's BIOS Flashback or reset button, or clear CMOS.
Windows 11 branch:
- If Secure Boot and TPM are off, enable both before running the installer.
- If CSM is on, disable it first. CSM blocks Secure Boot on most boards.
- If your board uses fTPM (AMD) or Intel PTT, enable it in the security menu. No extra hardware needed.
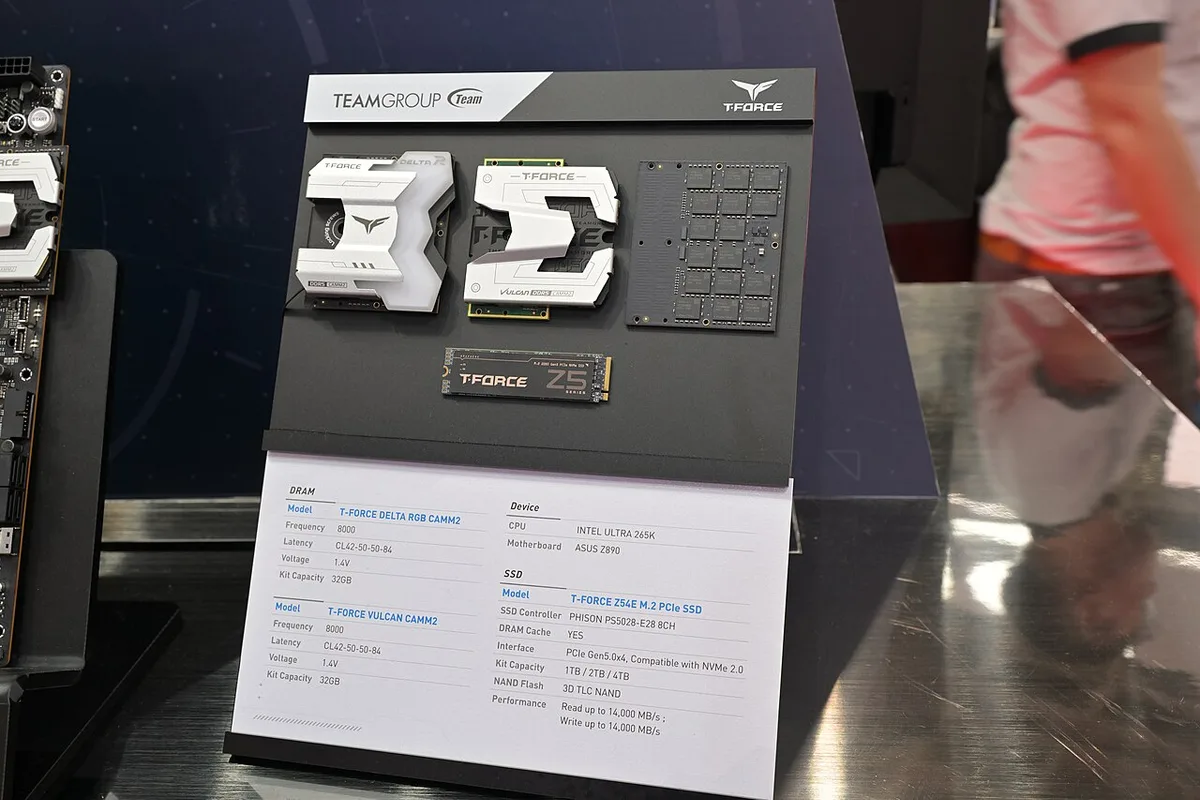
Image source: Wikimedia Commons / 4300streetcar (CC BY)
The image above shows where XMP profiles typically appear in a BIOS menu. Look for a label like "XMP," "DOCP," or "EXPO" near the top of the overclocking or memory section.
If your build uses a newer CPU on an older motherboard, you may need a BIOS update before any of these branches work. Manufacturer documentation from Intel and AMD confirms that firmware compatibility must come first.
Recommended BIOS Settings by Build Type
Different builds call for different defaults. Here's a practical starting point.
| Build Type | Memory | Boot | Security | Cooling |
|---|---|---|---|---|
| Budget gaming | XMP Profile 1 if supported | USB first, then NVMe | TPM + Secure Boot on | Auto fan curve |
| Mid-range gaming | XMP Profile 1 | NVMe first after install | TPM + Secure Boot on | Custom curve, 40% at 50C |
| High-end / overclocked | XMP Profile 1, test stability | NVMe first | TPM + Secure Boot on | Aggressive curve, low noise |
| Quiet / living room | XMP Profile 1 | NVMe first | TPM + Secure Boot on | Silent preset, check temps |
| Streaming / creation | XMP Profile 1 | NVMe first | TPM + Secure Boot on | Balanced curve |
Budget builds benefit most from the memory profile. A kit running at rated speed can close the gap between a budget CPU and a mid-range one in CPU-bound games.
Mid-range builds are where custom fan curves shine. You've got enough cooling headroom to tune for noise without sacrificing thermals.
High-end builds need stability testing. Enabling XMP and PBO together can push power draw past what your cooler or PSU expects. Monitor temperatures during a stress test before calling it done.
Quiet builds should start with the silent preset, then check that CPU temps stay under 85C under load. If they climb higher, bump the curve up slightly.
Streaming builds juggle CPU and GPU load. A balanced fan curve prevents thermal throttling during long sessions. If you're also balancing components for a target resolution, factor that into your cooling plan.
For power budgeting, our guide on choosing components that fit a gaming PC power budget helps you size your PSU before you start tuning.
CPU, Cooling, and Fan Curve Decisions
CPU boost settings are where many builders either leave performance on the table or create heat problems. The right call depends on your cooler and case airflow.
On AMD platforms, PBO (Precision Boost Overdrive) lets the CPU boost higher when thermal and power headroom exist. On Intel platforms, Turbo Boost and power limits (PL1/PL2) serve a similar role. Both are usually set to auto by default, which is conservative but safe.
If you have a quality air cooler or AIO, you can experiment with enabling PBO or raising power limits slightly. Monitor temperatures during a stress test. If the CPU exceeds 90C, pull back.
Our guide on applying thermal paste matters here because poor paste application limits how far you can push.
Fan curves are the other half. Default presets often ramp fans too late or too aggressively. A good curve starts fans at 30-40% around 40C and ramps to 80-100% by 75-80C.
This keeps idle noise low while preventing thermal throttling under load.
PWM (pulse-width modulation) fans give smoother control than DC fans. Most modern boards support both. Set the header type to match your fan.
Mismatched modes cause erratic RPM readings.
If you installed case fans with a specific airflow pattern, align your curve with that layout. Front intake fans can run quieter than exhaust fans because they push cooler air.
One warning: never disable thermal protection or set max temperature limits above manufacturer specs. The CPU will throttle or shut down to protect itself, but pushing limits risks long-term degradation.
Storage, PCIe, and Multi-Drive Considerations
Most gaming builds use one NVMe SSD. Some add a second M.2 drive or a SATA SSD. That changes BIOS behavior.
If you installed two M.2 drives, check whether the second slot shares lanes with a PCIe x16 slot. Manufacturer specs show some boards split bandwidth. You won't lose data, but GPU or SSD speed may drop.
Storage mode matters too. AHCI is the default and works for most single-drive setups. RAID mode is only needed for specific multi-drive arrays.
Don't switch to RAID unless you planned it.
Boot mode affects detection. UEFI with GPT is standard for modern Windows installs. Legacy mode with MBR is for older systems.
Keep UEFI for new builds.
Above 4G Decoding and Resizable BAR help with large GPU VRAM. Enable them if your board and card support it. If not, leave them off.
| Setting | Typical Value | When to Change |
|---|---|---|
| Storage Mode | AHCI | Only if using RAID |
| Boot Mode | UEFI | Leave as UEFI |
| Above 4G Decoding | On | Enable for modern GPUs |
| Resizable BAR | On if supported | Check GPU compatibility |
| M.2 Slot Sharing | Auto | Review manual for lane splits |
If a drive is missing, check slot sharing and reseat it. Our guide on installing an M.2 NVMe SSD covers physical installation. Also PCIe compatibility issues explains bandwidth conflicts.
Step-by-Step BIOS Configuration Workflow
Follow this order. It keeps changes organized and reversible.
- Enter BIOS with Del or F2 during POST.
- Load optimized defaults. This clears old settings.
- Update firmware if needed, using the board's official utility.
- Enable XMP or EXPO Profile 1 for RAM.
- Set boot priority to USB installer, then NVMe after install.
- Enable TPM 2.0 and Secure Boot for Windows 11.
- Disable CSM if it's on.
- Adjust fan curves based on your cooler.
- Enable Resizable BAR if supported.
- Save and exit.
After Windows installs, re-enter BIOS and verify boot order. Move your NVMe drive to first priority. Check that memory speed shows the rated MT/s in Windows.
If a setting causes instability, clear CMOS and start over. Most boards have a jumper or button. Keep the manual handy.
For physical prep, our workspace prep guide helps avoid static damage. For assembly order, see correct order to assemble. Also tools needed.
Mistakes That Cause Boot Loops, Heat, or Slow Memory
Small errors here cause big problems.
- Enabling XMP on unsupported RAM. This often causes boot loops. Clear CMOS and retry.
- Leaving Fast Boot on. It can hide BIOS access and skip device detection.
- Forgetting boot priority. The system may boot from the wrong drive or fail to find one.
- Enabling CSM with Secure Boot. These conflict on most boards.
- Pushing CPU boost without monitoring temps. Heat builds fast.
- Setting fan curves too low. Components throttle or overheat.
- Updating BIOS during a power outage. Use a UPS or stable power.
- Changing voltages manually without understanding limits. This risks hardware damage.
If you hit a boot loop, remove one RAM stick and test. Reseat the GPU and storage. Clear CMOS before changing more settings.
Aggregate reviews report that most post-build issues trace back to memory profiles or boot order. Fix those first. If the problem persists, check GPU power cable connections.
When to Stop Tuning and Use Defaults
More tuning isn't always better. Stop when the system is stable and meets your goals.
If XMP boots cleanly and temps stay under 85C, leave it. If fan noise is acceptable, don't chase silence. If games run well, extra voltage won't help much.
Defaults exist for safety. They protect hardware from bad settings. Use them as your baseline whenever you're unsure.
A good rule: change one setting at a time. Test after each change. If stability drops, revert.
If you're not overclocking, leave CPU voltage on auto. Modern boost algorithms handle it well. Manual offsets only help if you understand load-line calibration.
For RAM stability, verify speed in Windows and run a memory test. If errors appear, drop the profile or tighten timings carefully.
Our guide on checking if RAM is supported helps avoid profile issues. Also BIOS version impacts compatibility.
Frequently Asked Questions
Do I need to update BIOS before configuring settings?
Yes, if your CPU or RAM is newer than the board's original firmware. Check the manufacturer's support page. If everything works, you can skip it.
Should I always enable XMP or EXPO?
Enable it if your kit is on the QVL and the profile matches. If it causes instability, revert to default speed.
Is Secure Boot required for Windows 11?
Yes. Windows 11 requires Secure Boot and TPM 2.0. Enable both before installing.
What if my RAM won't run at its rated speed?
Try Profile 2 or manual settings. If that fails, leave it at default. Stability matters more than speed.
Can I leave fan curves on auto?
Yes. Auto presets are safe. Custom curves only help if noise or temps bother you.
Does Resizable BAR improve gaming performance?
Sometimes. Gains vary by game and GPU. Enable it if supported, but don't expect huge jumps.