How to Fix Swollen Gaming Laptop Battery What To Do on a Gaming Laptop: Causes, Tests & Solutions starts with understanding that a puffed cell is a safety warning, not a minor inconvenience. Lithium‑ion pouches swell when internal gas builds up from chemical breakdown, heat stress, or continued use of a damaged cell. If you’re reading this because your laptop’s trackpad feels stiff or the palm rest has lifted, your battery is likely already past the early stage.
Per NFPA guidance and manufacturer safety data, a swollen Li‑Po cell can progress to thermal runaway if punctured, compressed, or left in a hot environment. The right response isn’t to squeeze it back into shape or keep gaming on it. It’s to shut down, power off completely, and follow a careful replacement or disposal workflow.
This guide walks you through exactly what to check first, how to test severity, and when to stop DIY and hand it to a professional.
Quick Answer
How to Fix Swollen Gaming Laptop Battery What To Do on a Gaming Laptop: Causes, Tests & Solutions requires immediate power‑down and careful removal. Do not charge, press, or puncture the swollen cell. Test voltage with a multimeter after safe access.
Replace with an OEM or certified aftermarket battery if swelling is mild. Recycle the damaged unit at a certified e‑waste site. Follow safety steps to avoid fire or injury.
Why a Swollen Gaming Laptop Battery Is a Real Safety Hazard (Not Just an Annoyance)
A swollen laptop battery is a visible sign of internal gas generation. That gas comes from electrolyte decomposition, separator failure, or lithium plating. Each of those processes is linked to heat, overcharge, or age.
When the pouch can’t expand freely, pressure builds until the case deforms.
This isn’t a cosmetic issue. A puffed cell can short against the chassis if flexed further. It can also rupture if you try to force it back flat.
Manufacturer service manuals flag swelling as a condition that voids normal use and triggers safety protocols. You should treat the first visible bulge as a stop‑use signal.
Common root causes include:
- Sustained high temperatures during long gaming sessions
- Keeping the battery at 100% charge for days while plugged in
- Using a charger that doesn’t match the OEM voltage/current spec
- Physical damage from drops or pressure on the palm rest
- Age‑related degradation past 500, 800 cycles
If you regularly game with the laptop on a bed or couch, you’re also likely restricting airflow. That compounds heat stress and accelerates swelling. For more on power habits that strain your battery, check out Should Your Gaming Laptop Stay Plugged In.
How to Tell If Your Battery Is Actually Swollen — and How Severe It Really Is
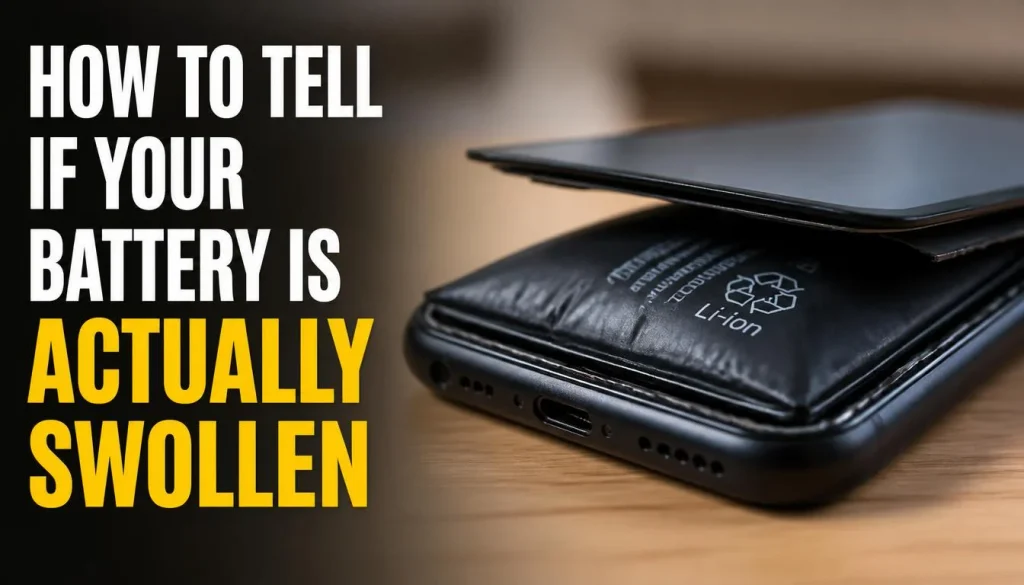
You don’t need special tools to spot early swelling. Look for these physical cues first. The trackpad may feel less clicky or sit higher than before.
The keyboard deck can lift slightly near the palm rest. The laptop might rock on a flat surface because the chassis is no longer sitting flush.
Next, check software diagnostics. Windows includes a built‑in battery report that shows design capacity versus current full‑charge capacity. A drop below 80% of design capacity often signals significant wear. macOS offers similar cycle‑count and condition data in System Information.
Third‑party tools like HWMonitor or BatteryInfoView can reveal voltage sag under load, which a degraded cell will show more dramatically.
Severity matters because it changes your next step. Mild swelling means the pouch is rounded but the case hasn’t split and the battery still seats firmly. Moderate swelling causes visible lifting and may interfere with connector clearance.
Severe swelling risks connector strain, chassis distortion, and a higher chance of internal short if handled roughly.
Use this quick scale to decide how far to proceed:
| Sign | Mild | Moderate | Severe |
|---|---|---|---|
| Visible bulge | Slight rounding | Clear lift on one side | Case gap >3 mm |
| Trackpad feel | Normal or slightly stiff | Noticeably firm | Hard to depress |
| Charger behavior | Normal charging | Intermittent or slow | Not recognized |
| Heat during light use | Warm | Hot to touch | Too hot to sustain contact |
If you notice any severe signs, stop and move straight to safe removal and disposal. Don’t attempt diagnostics that require opening the case. Instead, contact the manufacturer or a certified repair shop.
For context on how gaming laptops handle heat under load, see Why Gaming Laptop Fps Drops After 15 Minutes.
What NOT to Do With a Swollen Battery Before You Even Touch It
Some instincts are wrong here. Pressing the puff back down can crack the pouch. Puncturing it releases flammable gas and can ignite.
Charging a swollen cell continues the chemical stress that caused the swelling in the first place. Leaving the laptop plugged in while the battery sits at 100% adds heat and voltage stress.
You also shouldn’t ignore a swollen battery hoping it will “settle.” It won’t. Gas generation is progressive until the cell fails. And you shouldn’t store a removed swollen battery in a regular trash bin or a metal container.
That raises the risk of short circuits and makes recycling illegal in many regions.
Here’s a short list of actions to avoid:
- Do not use knives, screwdrivers, or sharp tools to pry the battery flat
- Do not apply heat guns, hair dryers, or direct sunlight to shrink the pouch
- Do not charge the laptop while the battery is visibly deformed
- Do not place the battery in a backpack with metal objects that could bridge contacts
- Do not attempt to drill vent holes or repair the pouch with tape
If you’re unsure about safe handling, refer to guidance from official sources like the National Fire Protection Association (NFPA), which outlines lithium‑ion battery fire risks and storage recommendations. Their resources stress keeping damaged cells isolated and away from ignition sources.
The Safe Step-by-Step: Removing and Replacing a Swollen Gaming Laptop Battery
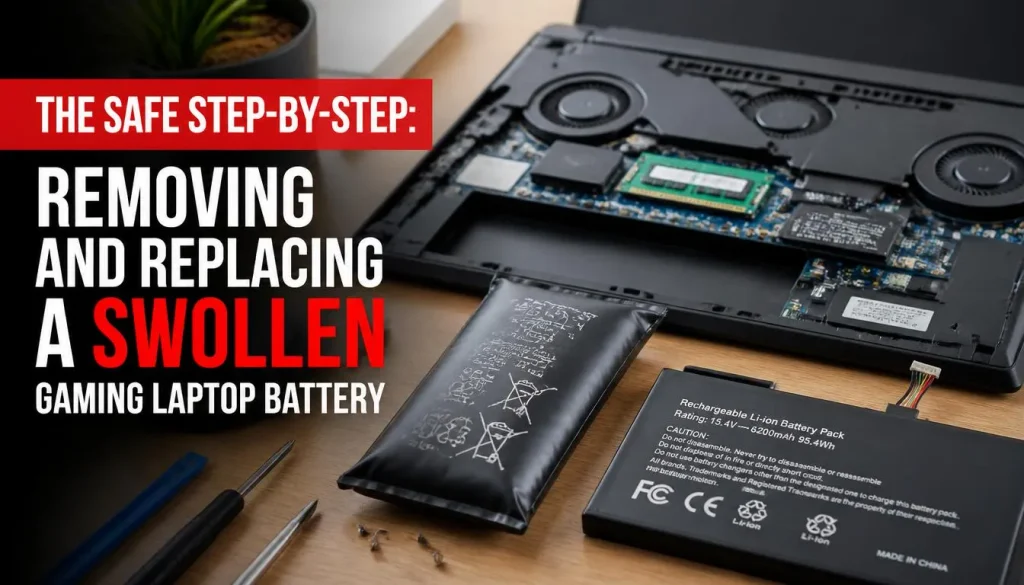
Removing a swollen battery requires patience and the right tools. Start by powering off the laptop completely. Unplug the charger and any peripherals.
Work on a non‑conductive surface like a wooden table or a rubber mat. Gather a set of precision screwdrivers, a plastic spudger, and an anti‑static wrist strap if you have one.
First, locate the battery compartment. Many gaming laptops have a dedicated panel on the bottom. Some models integrate the battery under the main chassis, which means more screws and careful pry work.
Check your model’s service manual if available. If you’re working on a device like the Nimo 16 Ai Laptop, you’ll find specific screw lengths and connector layouts documented by the manufacturer.
Follow this order to minimize risk:
- Remove the back panel screws and set them in a magnetic mat
- Gently pry the panel using a plastic tool, working around the edges
- Locate the battery connector and disconnect it first, before unscrewing the battery
- Remove any retaining brackets or adhesive tabs carefully
- Lift the battery out without bending or twisting the pouch
- Clean the compartment of dust and debris before installing the new unit
When you install the replacement, double‑check the polarity and connector orientation. Seat the battery evenly and fasten all brackets. Reattach the panel and screws in a cross pattern to avoid warping the chassis.
Then power on and verify the system recognizes the new cell.
If you’ve already gone through a full teardown for other repairs, you might find the process familiar. The Asus Tuf A18, for example, uses a common layout that many users service themselves. Just remember that every model differs, and forcing a connector can damage the motherboard socket.
Testing Your Battery: Software Diagnostics, Multimeter Checks, and What the Numbers Mean
Testing tells you whether the battery is just worn or actively failing. Software reports give you cycle count, current capacity, and historical health trends. A multimeter gives you real‑time voltage, which reveals whether the cell can hold charge under minimal load.
Run the Windows battery report by opening Command Prompt and entering powercfg /batteryreport. Review the design capacity and the most recent full‑charge capacity. If the ratio is below 0.8, the battery is degraded.
Check the wear level percentage as well. A wear level above 20% usually means performance will drop noticeably during gaming.
For a hands‑on electrical check, set your multimeter to DC voltage. Touch the probes to the battery’s main contacts while it’s disconnected from the motherboard. A healthy 3‑cell Li‑Po should read between 11.1 V and 12.6 V depending on charge state.
A severely depleted cell may read below 9 V, which indicates deep discharge damage. If the voltage jumps when you apply slight pressure to the pouch, the internal connections are compromised.
Combining software and hardware data gives you a clear picture. Here’s what common readings mean:
| Reading | Interpretation | Recommended Action |
|---|---|---|
| Capacity >80% of design | Normal wear | Continue use, monitor |
| Capacity 60–80% of design | Moderate wear | Plan replacement soon |
| Capacity <60% of design | Severe wear | Replace immediately |
| Voltage <9 V (3S pack) | Deep discharge | Risk of permanent damage; test cautiously |
| Voltage unstable under light touch | Internal fault | Do not recharge; recycle |
If your diagnostics point to a faulty cell, don’t try to revive it with charge cycles or calibration software. Calibration only adjusts the gauge. It doesn’t fix physical degradation or gas buildup.
For guidance on maintaining overall system performance while you arrange a replacement, see Fix Stuttering Despite High Fps.
Why Gaming Laptop Batteries Swell in the First Place (Heat, Chemistry, and Bad Habits)
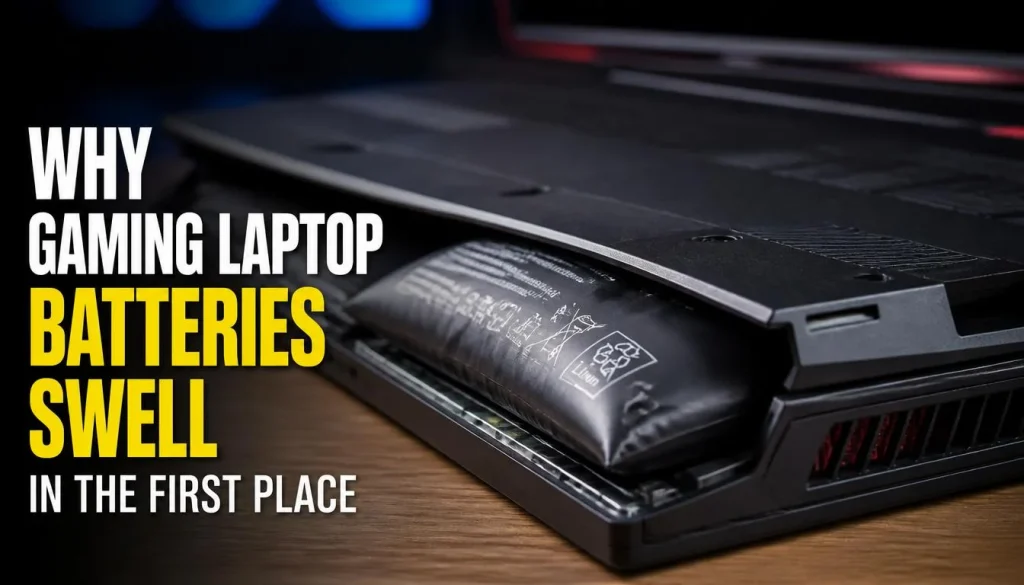
Gaming laptop batteries swell because lithium‐ion chemistry breaks down under stress. The pouch‐style cells inside your laptop generate gas when the electrolyte decomposes or when lithium plates onto the anode instead of intercalating properly. That gas has nowhere to go, so the flexible aluminum‐laminate pouch expands.
Heat is the biggest accelerant. Your GPU and CPU can push 150 watts or more under load. When thermal paste dries out or fans collect dust, that heat transfers into the battery compartment.
Even modest sustained temperatures above 45°C speed up electrolyte breakdown.
Common habit mistakes include:
- Leaving your laptop plugged in at 100% charge for weeks while gaming
- Playing demanding titles on a soft surface that blocks intake vents
- Using a third‐party charger with incorrect voltage or unregulated current
- Dropping the laptop and micro‐fracturing internal cell separators
Each of these creates conditions where gas generation outpaces normal recombination. Over time, the pouch can swell from barely noticeable to visibly deformed. Per manufacturer guidelines, keeping your device between 20°C and 30°C during use significantly extends cycle life and reduces swelling risk.
OEM vs. Aftermarket Replacement Batteries: What Actually Worth Buying
Choosing between an OEM battery and a third‐party alternative matters for safety and longevity. OEM cells come from the same supplier the laptop maker originally qualified. They match your exact voltage, capacity, and connector layout.
Aftermarket batteries vary widely in quality, some meeting spec and some cutting corners on cell grade or protection circuitry.
An OEM replacement costs more but includes built‐in safeguards like overcharge protection, temperature sensors, and proper cell balancing. Third‐party options can save money, but you need to verify certifications and read verified buyer feedback before purchasing. Look for batteries that list UL, CE, or RoHS compliance.
| Factor | OEM Battery | Aftermarket Battery |
|---|---|---|
| Price | Higher ($100–$250 typical) | Lower ($50–$120 typical) |
| Certifications | Full manufacturer approval | Varies; check for UL/CE marks |
| Cell quality | Matched to original spec | May use reused or lower‐grade cells |
| Warranty | 12 months standard | 6–12 months common |
| Availability | Through manufacturer or authorized dealers | Online marketplaces, third‐party sellers |
If budget allows, OEM is the safer bet for a gaming laptop that runs hot. For older models where OEM parts are scarce, choose a reputable aftermarket brand with documented compliance. Never buy the cheapest option you find, especially if it lacks safety certifications.
How to Prevent Battery Swelling on Your Gaming Laptop Going Forward
Prevention focuses on heat management and smart charging habits. Your goal is to keep the battery between 20% and 80% charge when possible, and to maintain good airflow around the chassis.
Start with your charging routine. If you game mostly while plugged in, consider enabling a charge limit feature if your manufacturer offers one. Many modern laptops let you cap charging at 80% to reduce stress on the cells.
For more on power habits, see Should Your Gaming Laptop Stay Plugged In.
Next, maintain your cooling system. Clean intake and exhaust vents every few months. Replace thermal paste on the CPU and GPU every 12 to 18 months if you run sustained heavy loads.
Use a hard, flat surface for gaming, never a bed or couch.
Additional preventive steps include:
- Avoiding fast charging when not necessary
- Shutting down the laptop instead of leaving it in sleep mode for extended periods
- Checking battery health monthly with diagnostic tools
- Storing spare batteries at around 50% charge in cool, dry conditions
Small habits make a big difference. A laptop that stays cooler and charges moderately will outlast one that runs hot and sits at full charge.
When to Walk Away From DIY and Get Professional Help Instead
Some situations require a trained technician. If your swollen battery has damaged the chassis, cracked the trackpad, or compromised the motherboard connector, DIY repair risks further harm. Similarly, if the battery is glued in tightly or your laptop model requires disassembly beyond the bottom panel, professional assistance is the safer route.
Signs you should seek professional help:
- The battery casing is cracked or leaking
- The trackpad or keyboard is physically deformed
- You cannot safely disconnect the battery without risking motherboard damage
- The laptop shows charging errors after attempting replacement
- You lack the tools or confidence to work with small connectors
Professionals have the right tools and experience to handle delicate connectors and adhesive removal. They can also inspect for collateral damage to nearby components. If you’re unsure, it’s better to pay for expert service than to risk a short circuit or fire.
For models like the Nimo 17 3 Multitasking Laptop With Ryzen, service documentation may detail specific torque values and connector handling. If you can’t find clear guidance, a certified repair shop is your best option.
Proper Disposal and Recycling of Swollen Batteries (It’s Not Just Trash)
A swollen battery is hazardous waste. You cannot throw it in regular trash, and many municipalities prohibit it for good reason. Lithium‐ion cells can ignite in landfills, release toxic chemicals, and endanger waste workers.
Start by storing the removed battery safely. Place it in a non‐conductive container, ideally a fire‐resistant Li‐ion safe bag if you have one. Keep it away from metal objects, direct sunlight, and heat sources.
Do not puncture or compress it further.
Next, find a certified recycling center. In the US, you can locate drop‐off sites through the EPA’s recycling locator or by contacting local household hazardous waste facilities. Many electronics retailers and battery specialists also accept spent Li‐ion cells.
If you’re outside the US, check your national e‐waste regulations or contact your municipal waste authority.
Do not attempt to drain, crush, or burn the battery. These actions can cause immediate fire or release harmful fumes. Proper recycling recovers valuable metals and ensures the cell is neutralized safely.
If you need guidance on local disposal options, refer to resources from official government agencies or recognized environmental organizations. Their instructions are updated regularly to reflect current safety standards.
Real Scenarios: What Happens When People Ignore a Puffed Battery
Ignoring a swollen battery rarely ends well. Most users notice the puff after weeks of gradual performance loss, then assume it’s “just a bit swollen.” That assumption can lead to serious outcomes.
One common scenario involves a gamer who continues using a visibly puffed laptop for two more months. The battery swells enough to warp the trackpad, making clicking unreliable. The chassis flexes under normal use, eventually cracking the plastic around the hinge.
Within weeks, the battery connector loosens from the strain, causing intermittent power loss during intense gaming sessions.
Another scenario features a student who sleeps with the laptop on the bed, charging overnight. The soft surface blocks vents, raising internal temperatures. After three weeks, the battery swells significantly.
The user attempts to compress the pouch with heavy books, thinking it will flatten. Instead, the aluminum laminate tears slightly, releasing a sharp, sweet chemical smell. No fire occurs, but the cell is now hazardous and must be recycled immediately.
In more severe cases, continued use leads to thermal runaway. A user leaves a swollen battery plugged in at 100% charge for several days. The cell overheats during a gaming session, triggering a protective shutdown.
The laptop refuses to turn back on. Diagnostic tests reveal a shorted cell that has damaged the charging circuit board. Repair costs now exceed a simple battery replacement.
These outcomes share a pattern: early signs are ignored, minor swelling progresses, and eventual damage escalates. Per safety data from the National Fire Protection Association, lithium‐ion battery fires often stem from continued use of visibly degraded cells. The risk rises sharply once the pouch shows any sign of separation or leakage.
If you spot even mild swelling, treat it as a warning. Delaying replacement increases the chance of collateral damage to your laptop’s structure and components.
What a New Battery Will Cost You and Where to Buy One Without Getting Scammed
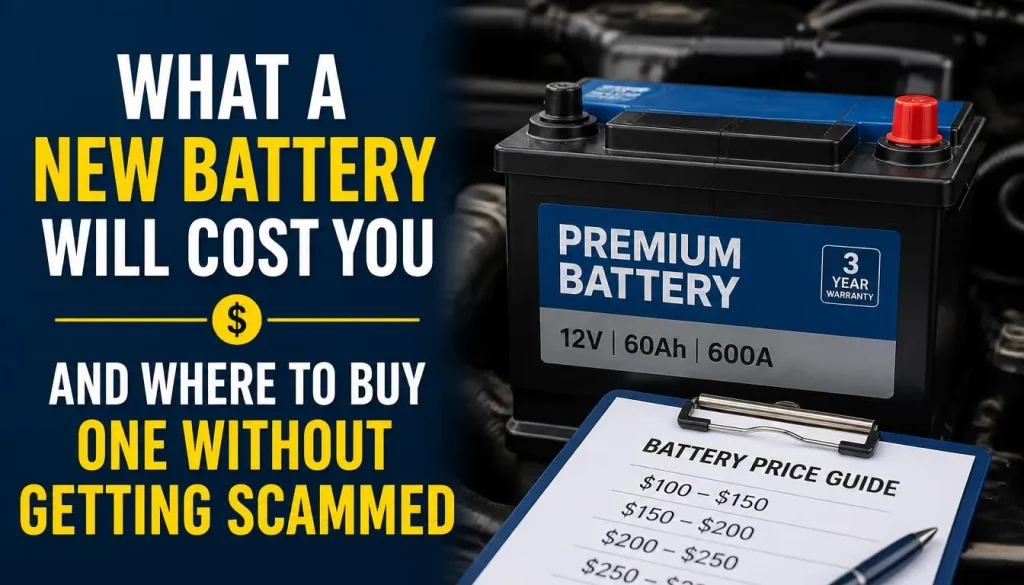
Replacing a swollen gaming laptop battery typically costs between $50 and $250, depending on capacity, brand, and certification. OEM batteries from major manufacturers run toward the higher end, while reputable third‐party options can offer savings if you know what to look for.
Price variation comes from several factors:
- Capacity (Wh or mAh): Larger cells cost more. A 90 Wh battery will exceed a 60 Wh unit in price.
- Certifications: Cells with UL, CE, or RoHS marks often carry a premium due to quality control and safety testing.
- Brand reputation: Established brands charge more for consistent performance and longer warranties.
- Seller markup: Authorized dealers may price higher than independent online retailers, but they reduce fraud risk.
To avoid scams, stick to trusted sources. Purchase directly from the laptop manufacturer’s parts store or an authorized reseller. If you buy from a third‐party site, verify seller ratings and read recent customer feedback.
Look for explicit mentions of compliance certifications and a clear return policy.
Red flags include prices far below market average, missing warranty information, vague product descriptions, and sellers who cannot provide certification documents. A battery listed at $30 for a high‐capacity gaming model is likely a counterfeit or refurbished cell with unknown history.
Consider these typical price ranges as of 2026:
| Battery Type | Typical Price Range | Best For |
|---|---|---|
| OEM (manufacturer branded) | $120–$250 | Warranty preservation, guaranteed compatibility |
| Certified aftermarket (UL/CE marked) | $70–$130 | Budget‐conscious users with verified sellers |
| Uncertified generic | $40–$80 | High risk; not recommended |
| Refurbished / rebuilt | $50–$100 | Temporary fix; limited lifespan |
Before purchasing, confirm your exact laptop model and part number. Check the manufacturer’s support site for a compatible part listing. If you’re unsure, consult a certified repair technician or reference detailed teardown guides for your model.
For inspiration on reliable gaming hardware, see our review of the Nimo 16 Ai Laptop, which highlights build quality and component selection.
Frequently Asked Questions
Can I keep using my laptop if the battery is slightly swollen?
No. Even mild swelling indicates internal gas buildup and ongoing cell degradation. Continuing to use the laptop risks further expansion, potential chassis damage, and increased fire hazard.
Shut down the device, disconnect power, and arrange for safe removal and replacement.
How long does a battery replacement take for a gaming laptop?
A typical DIY replacement takes 30 to 60 minutes if you have the right tools and follow the service manual. Complex models with glued‐in cells or hidden connectors may require additional time. Professional service often completes the job within an hour, including testing and firmware updates.
Will replacing the battery void my warranty?
Usually no, provided you use an approved replacement part and follow the manufacturer’s disassembly instructions. However, if you damage other components during removal, warranty coverage for those parts may be denied. Check your warranty terms or contact the manufacturer’s support line before proceeding.
Can I inflate a swollen battery myself using a syringe or pump?
Never attempt to vent or inject anything into a lithium‐ion pouch. The cell contains reactive chemicals and flammable electrolytes. Piercing the pouch releases toxic gases and can cause immediate fire or explosion.
Replacement is the only safe remedy.
How do I know if a third‐party battery is safe to buy?
Look for explicit safety certifications such as UL, CE, or RoHS. Verify that the seller provides a written warranty and clear return policy. Read recent customer reviews focusing on longevity and charging behavior.
Avoid listings that omit technical specifications or certification details.
What should I do if the swollen battery leaks fluid?
Stop handling the battery immediately. Place it in a non‐conductive, fire‐resistant container if available. Wear gloves and eye protection if you must move it.
Contact your local hazardous waste disposal authority for instructions. Do not wash leaked fluid with water, as some electrolytes react violently with moisture.
Is it safe to store a removed swollen battery in a plastic bag?
Yes, if the bag is sealed and placed inside a secondary non‐conductive container. Keep the battery away from metal objects, heat sources, and direct sunlight. Store it in a cool, dry place until you can deliver it to a certified recycling facility.
Never store a swollen battery in a bedroom or living area overnight.
How often should I check my gaming laptop battery’s health?
Run a diagnostic report monthly, especially if you frequently game or keep the laptop plugged in for extended periods. Note any changes in capacity, voltage stability, or physical appearance. Early detection of wear or swelling allows you to replace the battery before it becomes a safety issue.
Can extreme cold cause battery swelling?
Cold temperatures alone do not cause swelling, but they can temporarily reduce capacity and increase internal resistance. Rapid heating after cold exposure may stress cell chemistry. Store and operate your laptop within the manufacturer’s specified temperature range, typically 0°C to 35°C for storage and 10°C to 40°C for operation.
Where can I find official service manuals for my laptop model?
Most major manufacturers publish service manuals on their support websites. Search for your exact model number plus “service manual” or “maintenance guide.” Reputable third‐party sites like iFixit also offer detailed teardown instructions. Always cross‐reference screw lengths and connector types before disassembly.