If you're staring at a newly built gaming pc that does not post, you're not alone. The first boot is where most builds reveal a loose cable, a RAM seating issue, or a power problem. Start with the symptoms, not guesswork.
As of 2026, most modern boards use debug LEDs and beep codes to point at the failing part. Manufacturer specifications indicate that a missing 8-pin EPS connector is one of the most common first-boot faults. We'll work from the cheapest checks to the harder ones.
Why Your New Gaming PC Won't POST
POST stands for Power-On Self-Test. It is the firmware's first hardware check before it ever tries to load an operating system. If POST fails, you usually get no display, no boot logo, and no Windows screen.
A no-POST build is not always a dead part. In our research, many first-boot failures come from assembly details rather than defective hardware. A half-seated DIMM, a loose GPU, or an extra standoff under the board can stop POST instantly.
The goal is not to replace parts blindly. The goal is to isolate the failing subsystem. Think in four buckets: power, CPU, memory, and display output.
Start every check with the power fully off. Unplug the PSU, then hold the case power button for ten seconds to discharge residual power. That simple step prevents accidental shorts while you reseat parts.
First, Read the Symptoms: Q-LEDs, Beeps, and Fan Behavior
Your board is already telling you where to look. Many motherboards have four small debug LEDs labeled CPU, DRAM, VGA, and BOOT. A lit LED usually means the board stopped at that stage.
If your board has a POST code display, write down the hex value. If it has a speaker or buzzer, count the beep pattern. One long and two short beeps often points to a video issue, while repeated short beeps can point to memory.
| Symptom | Likely area | First check |
|---|---|---|
| No lights, no fans | PSU or power path | Wall outlet, switch, cables |
| Fans spin, black screen | Display path | Monitor input, cable, GPU |
| CPU LED stays lit | CPU power or seating | 8-pin EPS, socket pins |
| DRAM LED stays lit | Memory | Reseat RAM, try one stick |
| VGA LED stays lit | Graphics | GPU seating, PCIe power |
Do not skip the monitor check. A build can POST perfectly while the display shows nothing because the cable is in the wrong port. If your CPU has integrated graphics, test the motherboard video output as a comparison.
A useful habit is to test one change at a time. Change a cable, try a boot, and note the result. That keeps the diagnosis clean and avoids chasing three problems at once.
Decision Branch: No Lights, No Fans, or a Dead PSU
If nothing lights up, treat it as a power delivery problem first. Verify the wall outlet with a lamp or phone charger. Then check the PSU's rear switch and make sure the power cord is fully seated.
Check the main 24-pin ATX connector and the 8-pin EPS CPU connector. Both must click into place. Many first-time builders connect the 24-pin but miss the CPU power lead near the top-left of the board.
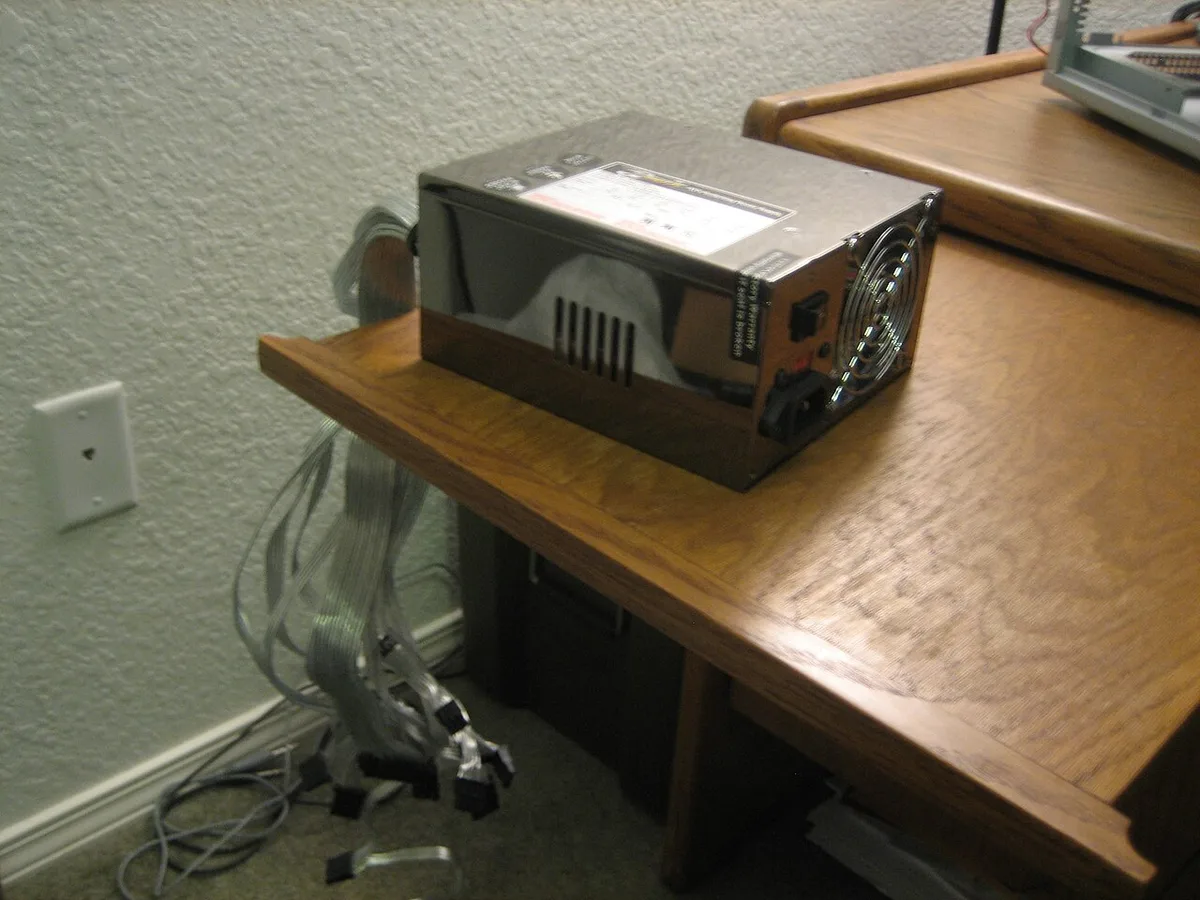
Image source: Wikimedia Commons / Lance Fisher (CC BY-SA)
If the PSU has a zero-RPM or eco mode, the fan may not spin at idle. That does not mean the PSU is dead. Look for motherboard lights, drive activity, or a brief fan twitch when power is applied.
A paperclip test can confirm basic PSU startup, but it is not a full load test. For safer validation, use a PSU tester or multimeter on the 3.3V, 5V, and 12V rails. Never open the PSU case; internal capacitors can hold dangerous charge.
If all cables are correct and the PSU still shows no signs of life, test with a known-good PSU. That is faster than guessing. If a different PSU boots the build, your original unit is likely faulty or underpowered.
Also check for a short to ground. Remove the motherboard from the case and place it on the box it came in. Install only the CPU, one RAM stick, and the PSU.
If it boots outside the case, an extra standoff or loose screw was shorting the board.
Decision Branch: Fans Spin but Nothing on Screen
This is the most common no-POST symptom. The system has power, but the display path or firmware handoff is failing. Start with the monitor and cable before touching the hardware.
Confirm the monitor is on the correct input. DisplayPort and HDMI handshakes can fail on first boot, especially with high-refresh gaming monitors. Try a different cable or a different input.
Check where the video cable is plugged in. If your CPU has integrated graphics, the motherboard port may work. If you are using a discrete GPU, the cable belongs in the GPU, not the motherboard.
Seating the graphics card fully and connecting its PCIe power leads matters here.
Reseat the RAM next. Power down, remove every stick, then install one stick in the slot the manual recommends, often A2. Listen for the click.
A DIMM that looks seated may still be one millimeter high. If one stick fails, test the other stick in the same slot.
Clear CMOS if the board seems stuck. Use the clear-CMOS jumper or remove the battery for a few minutes. This resets BIOS settings that can block first boot after a bad memory training attempt.
If the system still shows nothing, breadboard it. Remove the GPU, storage, and extra fans. Boot with CPU, one RAM stick, and PSU.
If it POSTs, add parts back one at a time until the failure returns.
Decision Branch: Stuck on a CPU, DRAM, VGA, or BOOT Debug LED
A stuck debug LED tells you which stage failed. Read it literally, then work backward. The LED is not a final diagnosis, but it narrows the search quickly.
If the CPU LED stays on, check the 8-pin EPS connector first. Then inspect the socket for bent pins if you are using a modern Intel or AMD platform. Remove the cooler, lift the CPU, and look at the pins under bright light.
Do not force the lever down.
If the DRAM LED stays on, memory compatibility is the suspect. Check the motherboard QVL and confirm the kit is supported. Start with one stick in the recommended slot, then try the other stick.
Disable XMP or EXPO temporarily if the board allows it.
If the VGA LED stays on, the graphics card is not initializing. Reseat it until the retention clip clicks. Connect every required PCIe power connector.
A modern high-end GPU may need two or three connectors, and missing one can cause a black screen even when fans spin.
If the BOOT LED stays on, POST may have succeeded but the system cannot find a boot device. That is technically past no-POST, but it feels the same to the user. Check M.2 seating, SATA cables, and BIOS boot order.
A good workflow is to document each result. Note which LED lit, which stick you used, and which slot. That record makes RMA conversations much easier if a part turns out to be dead on arrival.
For deeper assembly checks, review the main 24-pin and CPU power leads, seating the memory sticks fully, and fully seated GPU. If power delivery is still unclear, check PCIe power leads.
Manufacturer documentation from Intel and AMD is useful here, especially for socket installation and memory support. Their installation guides can confirm pin orientation, cooler pressure, and supported configurations without relying on forum guesses.
The Minimal-Build (Breadboard) Workflow to Isolate the Fault
A breadboard test removes the case from the equation. It uses only the parts needed to POST. If the build works outside the case, the fault is likely a short, standoff, or front-panel issue.
Set up on a non-conductive surface. The motherboard box works well. Keep the CPU cooler installed at all times.
Never run a modern CPU without cooling, even for a quick test.
Install only the CPU, one RAM stick, PSU, and required power cables. Connect the 24-pin ATX and 8-pin EPS leads. If the CPU has integrated graphics, skip the discrete GPU for now.
If not, install the GPU and its PCIe power cables.
To start the board, use the front-panel power switch if wired, or briefly touch the two power-switch pins with a flathead screwdriver. Watch the debug LEDs. If POST succeeds, shut down and add one component at a time.
If it still fails, swap the RAM stick and slot. Then test a different PSU. Keep notes on each result.
That record helps you decide whether to RMA a part or keep troubleshooting.
A clean workspace matters during this process. Prepping your build area reduces ESD risk and lost screws. Following the correct assembly order also helps avoid missing a step.
Common First-Build Mistakes That Cause No-POST
Most no-POST issues are small assembly errors. They are frustrating, but they are usually fixable in minutes. Check these before assuming a part is dead.
- Missing the 8-pin CPU power connector near the top-left of the board.
- RAM not fully clicked into place, especially on stiff DDR5 kits.
- GPU not fully seated or missing one PCIe power connector.
- Extra motherboard standoffs touching solder points on the back of the board.
- Front-panel power switch wired to the wrong pins.
- Monitor connected to the motherboard instead of the GPU.
- Bent CPU socket pins from misalignment.
- XMP or EXPO enabled before the system has completed one clean boot.
Seating the CPU correctly matters more than speed. Mounting the cooler evenly also protects the socket and keeps temperatures safe.
If you reused old storage, a boot-order issue can look like no-POST. That is different from a hardware POST failure. POST success with no boot device means the core hardware passed.
When to RMA, Swap Parts, or Call for Help
Decide based on isolation, not frustration. If a component fails the same way in a minimal build and with known-good replacements, it is likely defective. If it works in another setup, look at cables, seating, or compatibility.
Try a swap test before requesting an RMA. Borrow a known-good PSU, RAM stick, or GPU if possible. If the build POSTs with the replacement, return the original part under warranty.
Keep packaging and order numbers handy.
Some faults need expert help. Bent CPU pins, cracked PCBs, or liquid damage should not be forced. If you are unsure, contact the motherboard or CPU maker.
Intel support and AMD support publish installation guidance and warranty steps.
Do not open a PSU to inspect it. Internal capacitors can retain charge. If a PSU shows no signs of life after basic cable checks, replace or RMA it instead.
Frequently Asked Questions
What if fans spin but there is no display?
Check the monitor input, cable, and port first. Then reseat RAM and the GPU. If the CPU has integrated graphics, test the motherboard video output as a comparison.
A fully spinning system can still fail POST at the display stage.
Should I update BIOS before first boot?
Only if the CPU requires a newer BIOS than the board ships with. Check the motherboard support page and CPU compatibility list. If the system already POSTs, an update is not required for troubleshooting.
Use BIOS Flashback if the board supports it.
Can a missing CMOS battery cause no-POST?
A weak or missing CMOS battery usually causes lost settings, not a total no-POST. Replace it with a CR2032 if the board reports RTC errors. Clear CMOS after replacing the battery if settings seem corrupted.
How many RAM sticks should I use for first boot?
Use one stick in the slot the manual recommends, often A2. This reduces variables and makes memory training faster. Add the second stick only after the first clean POST.
Is it safe to run a PC outside the case?
Yes, if it sits on a non-conductive surface and the CPU cooler is installed. Avoid carpet and metal tables. Keep cables tidy so nothing shorts against the board.
When should I RMA a part instead of keep troubleshooting?
RMA when a part fails in a minimal build and with known-good replacements. Also RMA if you see physical damage, burning smells, or repeated failure after correct installation. Stop troubleshooting if safety is at risk.